Canva offers plenty of incredible design elements including their frame elements which allow you to ‘crop’ images and other media in interesting ways.
If you’re unsure how to use frames in Canva then this article will help you out.
Let’s get into it.
How to use frames in Canva:
More tips and resources:
- Adding text to frames
- Image effects
- Search terms for frame sets
- Frame sets
- Frames alternative
- Design ideas
Step 1: Find frames
Once you’ve opened or started a new design in Canva and made your way to the editor, the first step is to find some frames to use.
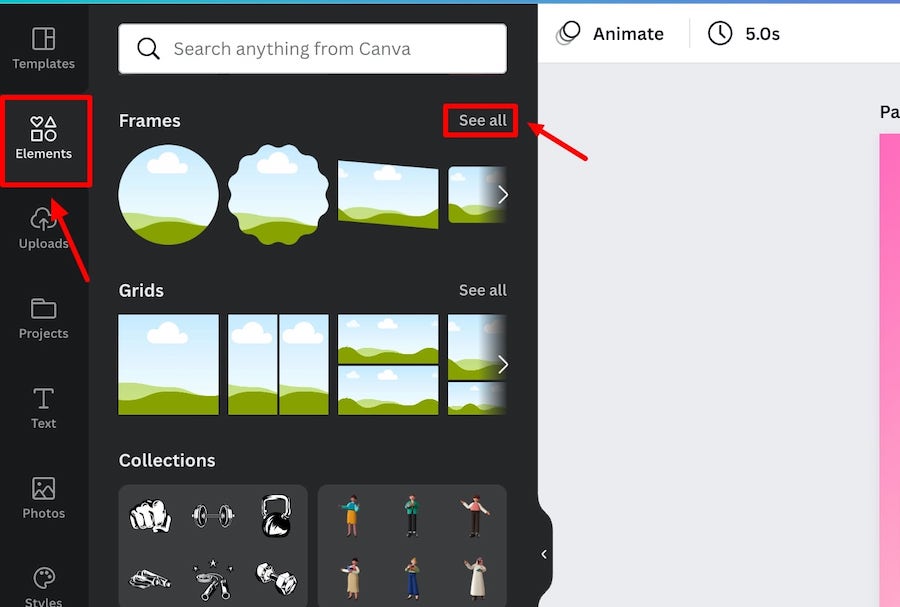
Navigate to the ‘Elements’ tab on the left side of the editor, scroll down until you see the ‘Frames’ category and then click ‘See all’ next to it to view all the frames:
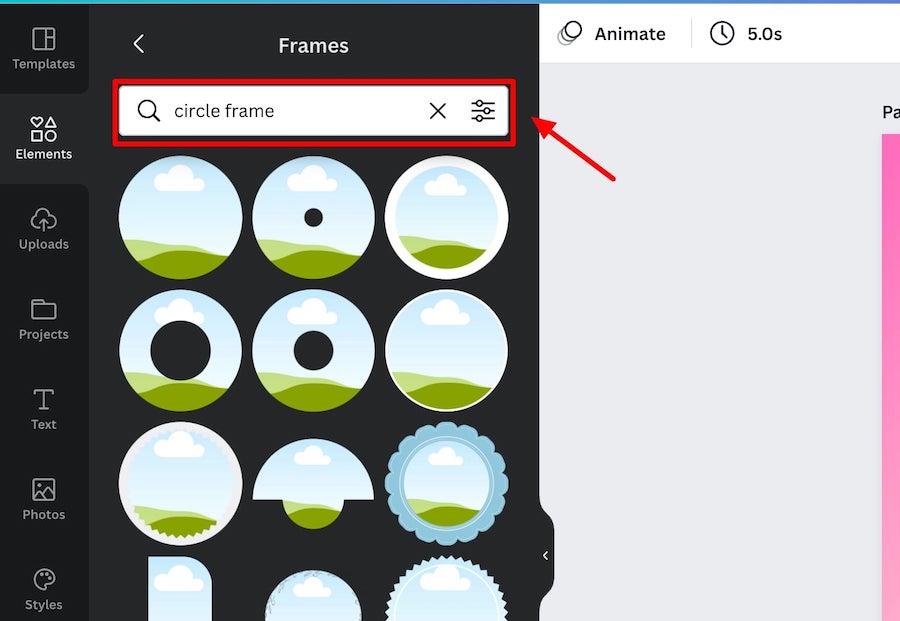
You can scroll through the options and choose a frame element that suits your needs or you can also input a search term if you have something specific in mind (we have some search suggestions further down in the article):
Step 2: Add and adjust them
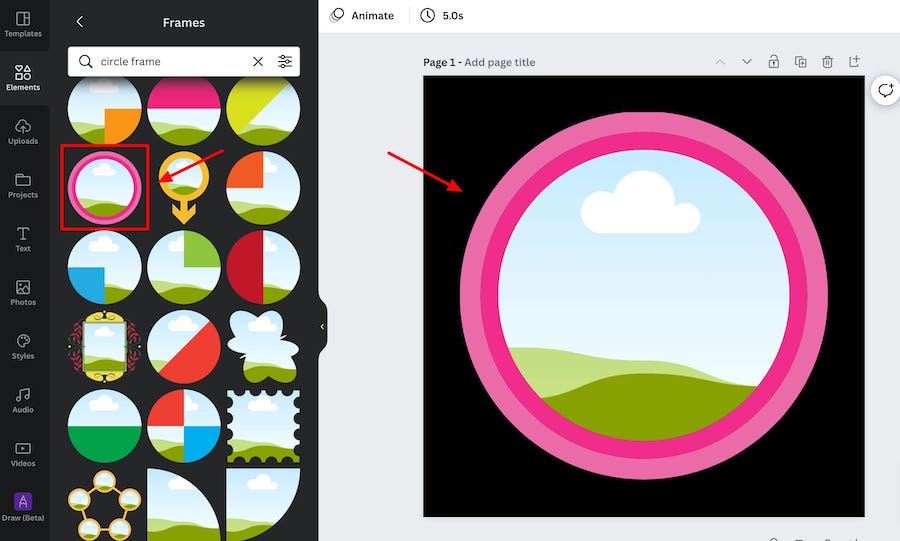
Click on a frame to add it to your canvas and then resize and position it where you want it:
Step 3: Add your media
The last step is to add media elements to the frame(s). This can either be an image or a video element. Either upload one of your own or choose a media element from the ‘Photos’ or ‘Videos’ tab in the editor.
When you’ve chosen your media element, simply drag it over the frame on the canvas and drop it in:
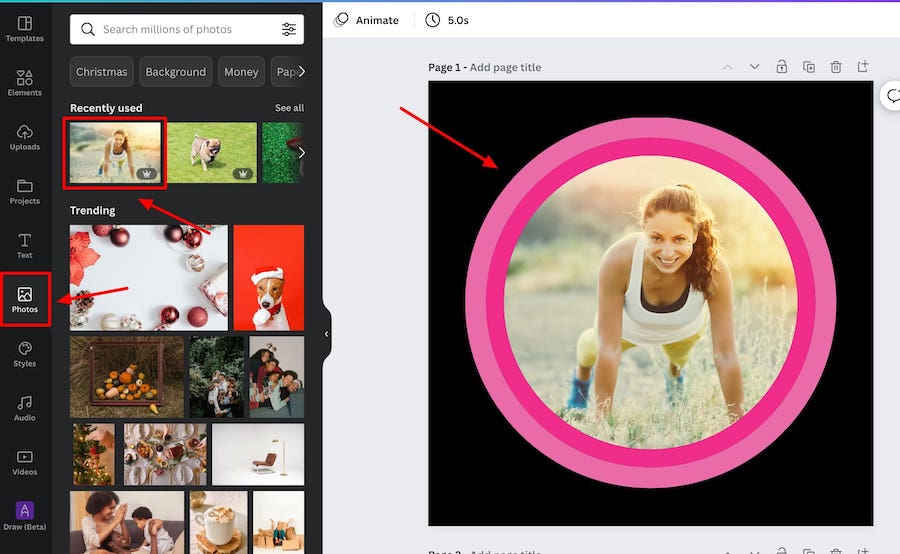
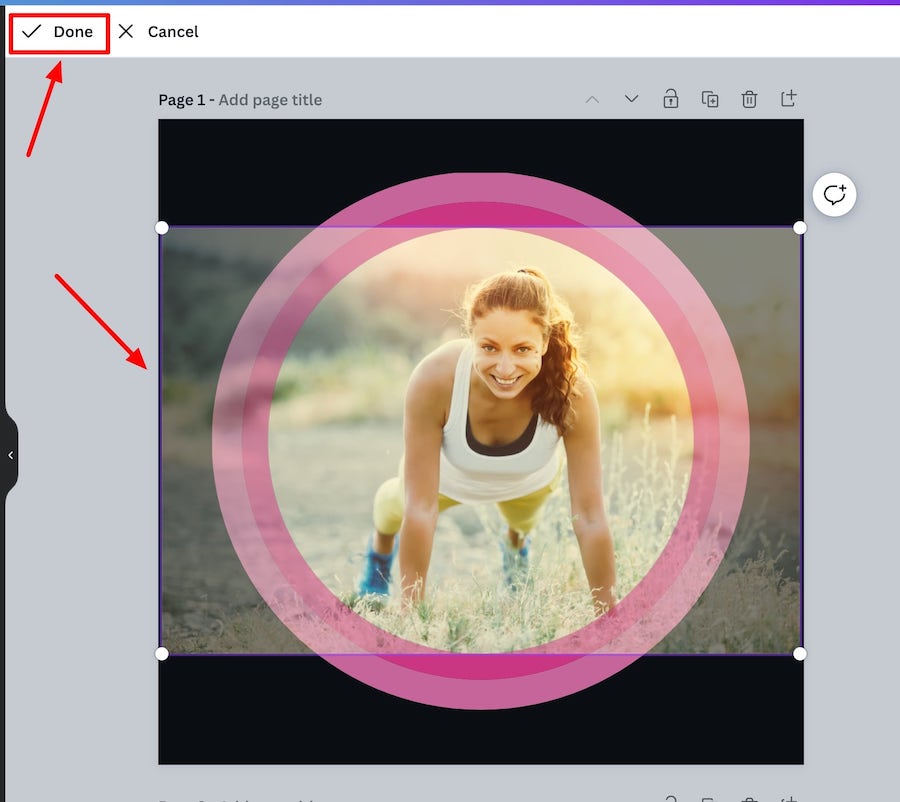
Essentially, you’re using a Canva frame to crop a photo or a video, so you can resize or reposition the image or video within the frame by double clicking on it, and adjusting it to get your perfect ‘crop’, and then simply clicking ‘Done’ once your finished adjusting it:
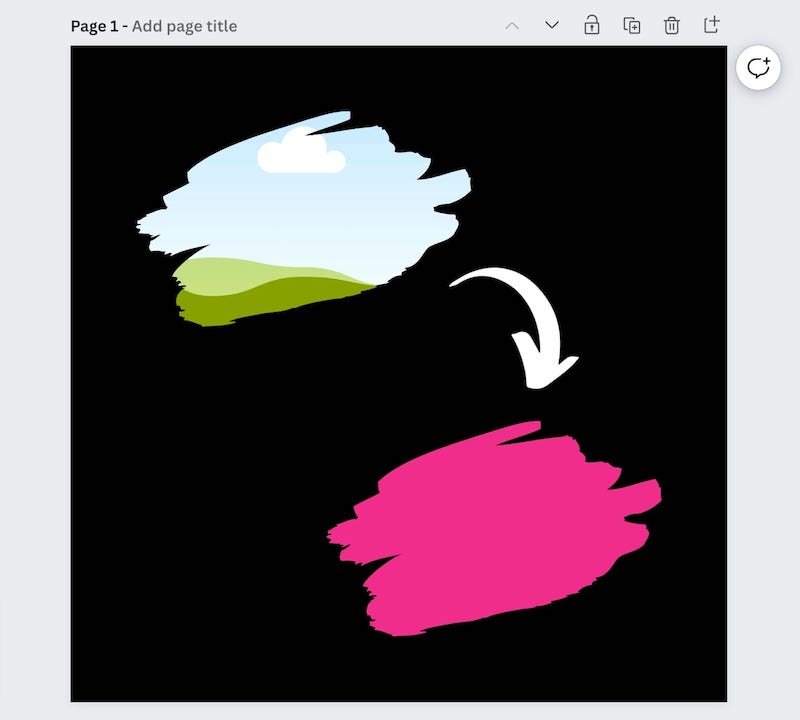
You can also simply add a color to a frame if you don’t want to use a photo or a video. Not all frames come with this option but most do.
You just need to click on a frame element, and if you can alter the color you’ll the color select option on the top panel above the editor:
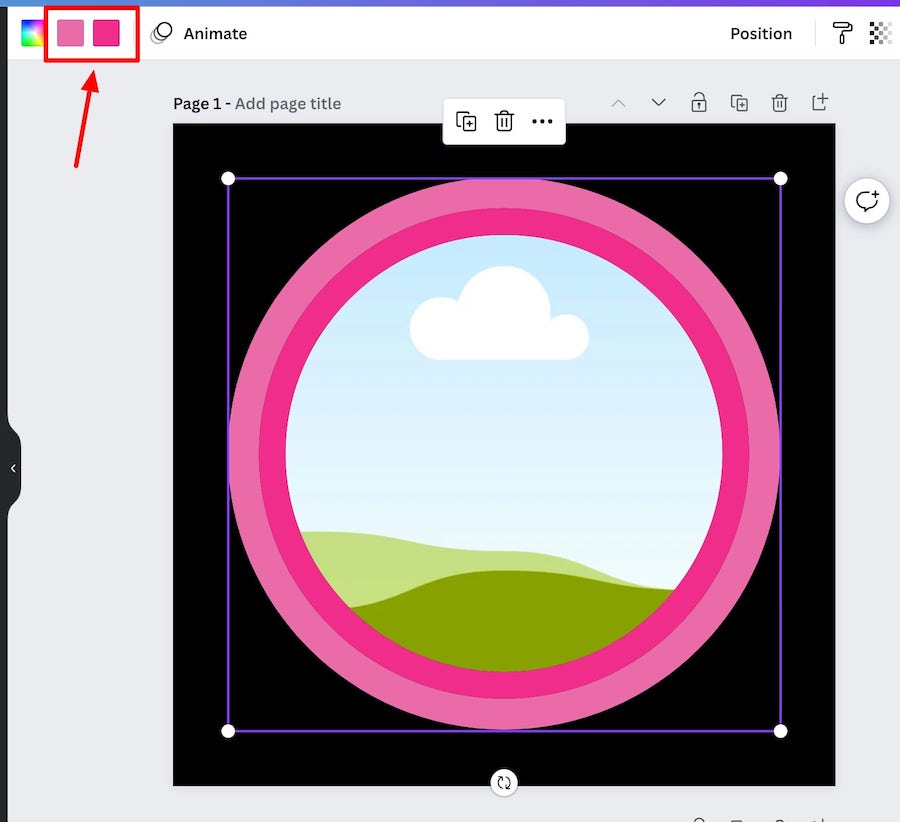
Some frames allow you to change the color of parts of the frame too e.g. the border:
More tips and resources
Here are a few other tips and resources to help you make the most of the frame elements on Canva.
Adding text to frames
If you want to add text elements to your frames, you’ll need to add a text box and overlay it over your frame element:
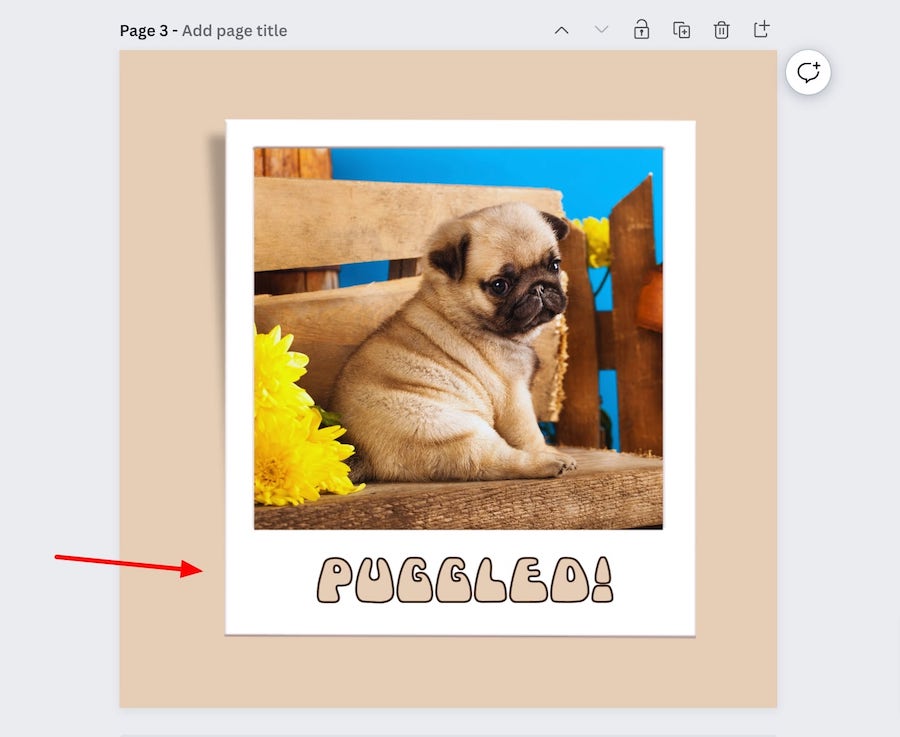
Image effects
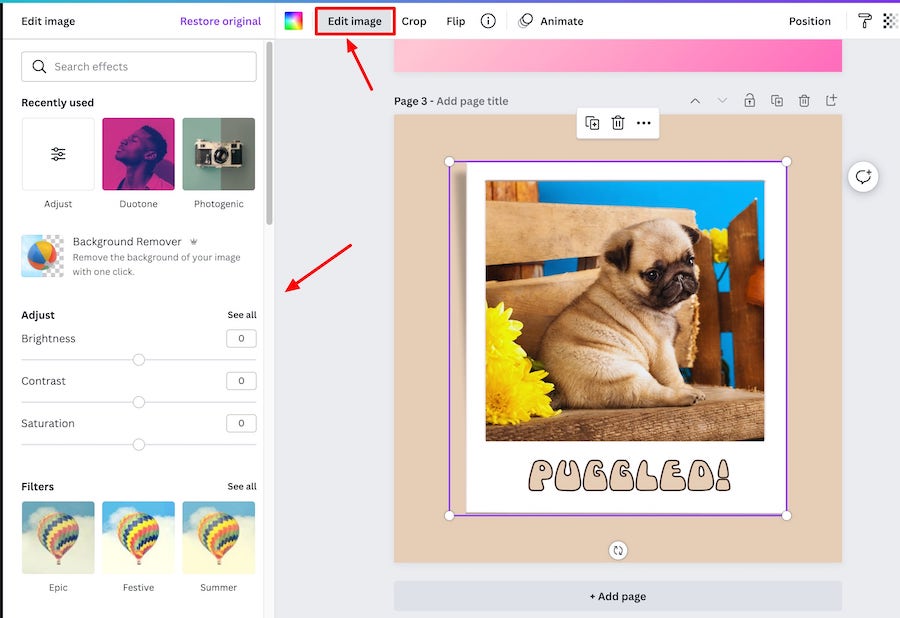
If you want to add effects to an image within a frame such as adjusting the brightness, adding filters, etc., you can do this as normal by clicking on the image in the frame element and going to ‘Edit image’:
Search terms for frames
Here are some good search term ideas for frame elements:
- Abstract
- Blob
- Border
- Brush
- Circle
- Device
- Film
- Flower
- Floral
- Fruit
- Letter
- Number
- Overlay
- Picture
- Portrait
- Ripped
- Shape
- Square
- Stamp
- Stripe
- Torn
- UI
- Vintage
- Window
Frame sets
We’ve made things super easy for you and have created a Canva template that contains lots of frame sets that you can browse through.
Here are just some of the sets we’ve put together for you (all free to access):

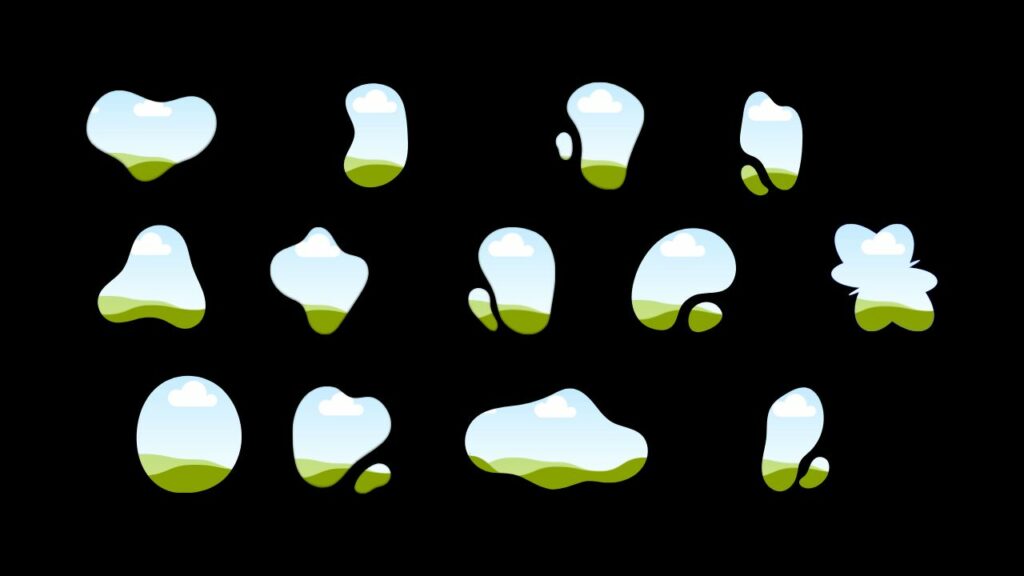

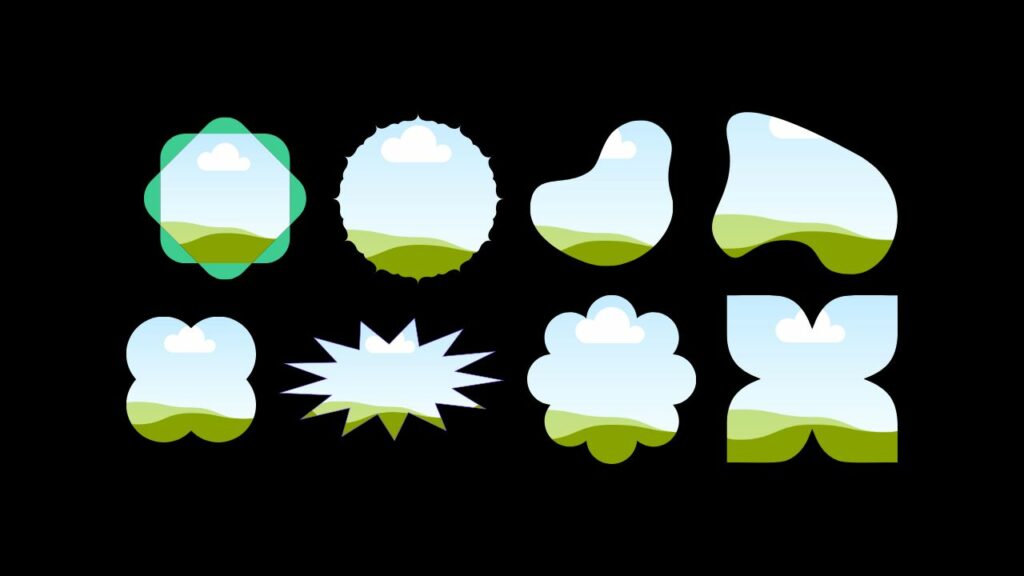

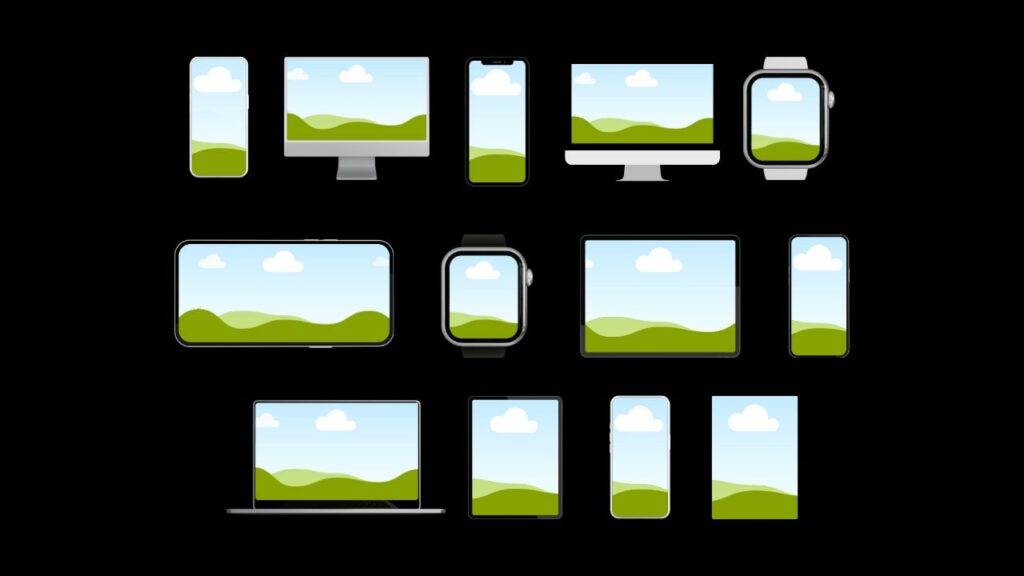
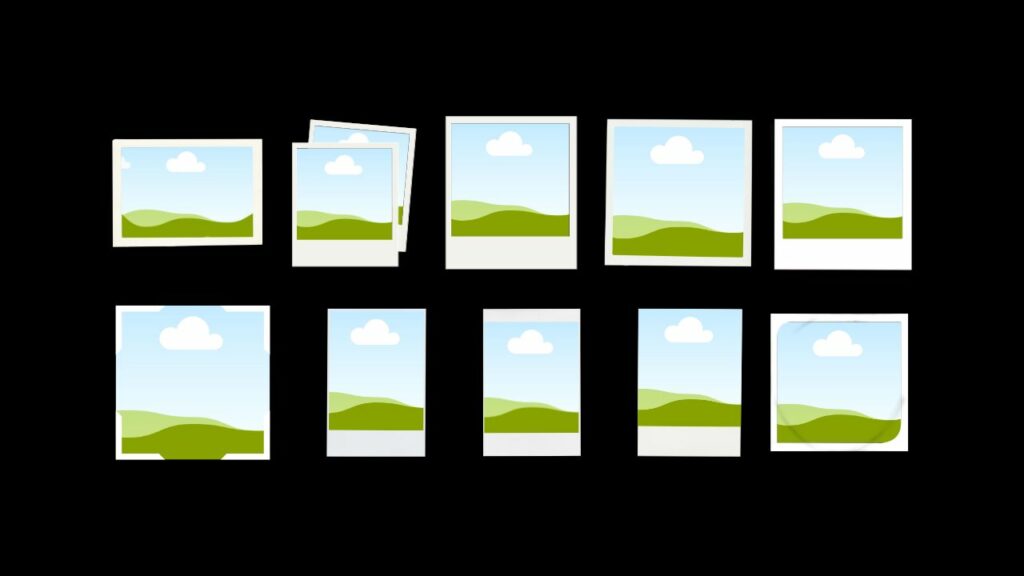
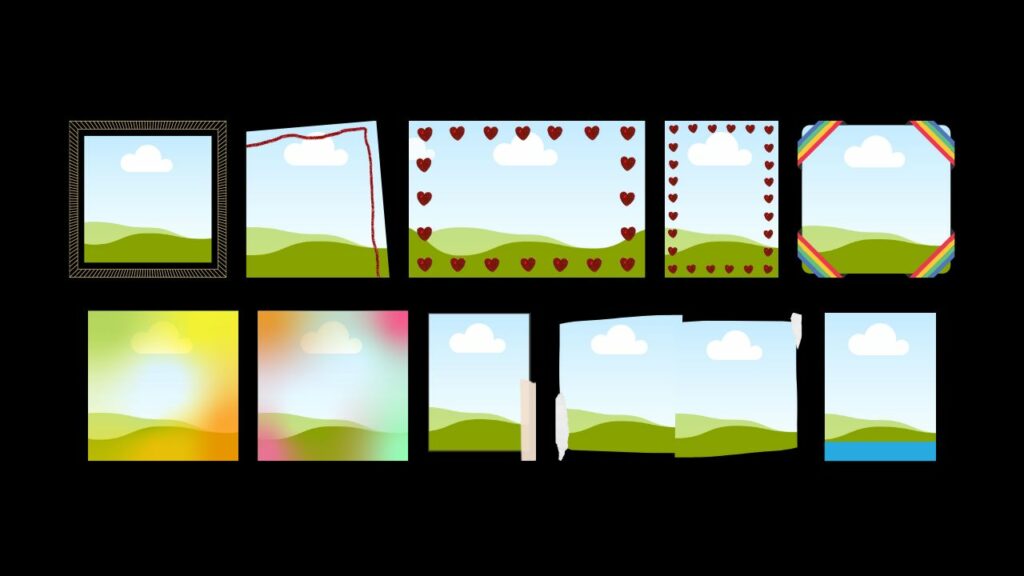
There are plenty more in the template doc. Click the button below to access them all:
Frames alternative
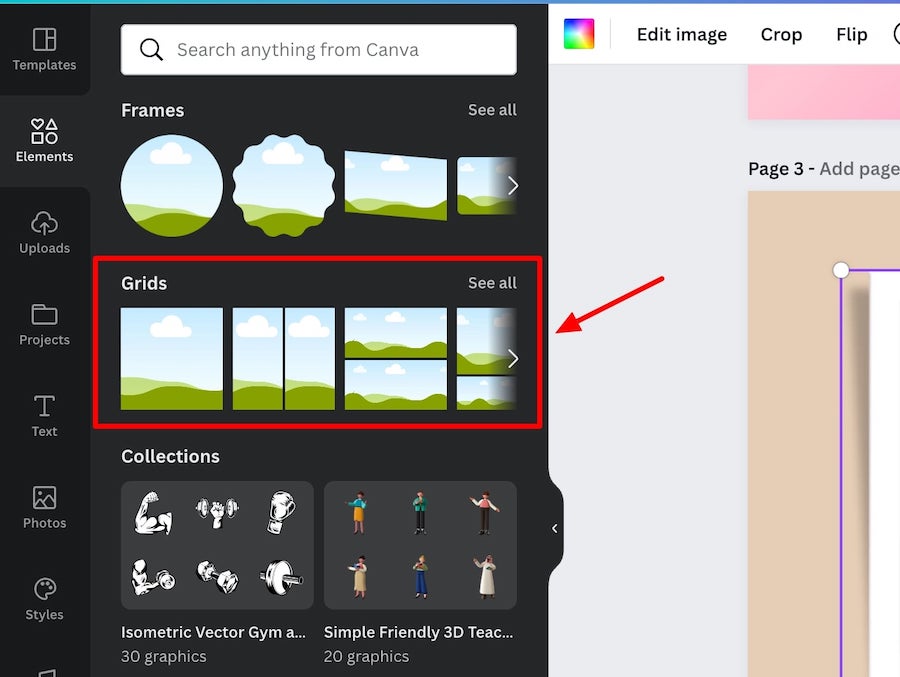
There is another element category in Canva that is very similar to frames, and that is grids.
They can be utilized in the exact same way, the only difference is that you get much more flexibility when it comes to resizing the grid elements. You don’t have to stick to the original proportions.
To access the grid elements, go to ‘Elements’ > ‘Grids’ > ‘See all’:
Design ideas using frames
Here are a few articles that feature ideas for designs that you can create using frame elements in Canva:
- How to create mockups in Canva
- How to create a 3D pop out effect in Canva
- Custom Canva letter frames
- How to create a text mask in Canva
- How to make a gradient in Canva
Related articles
Wrapping things up
Once again, if you want to quickly access all the frame sets we mentioned earlier in the article, you can access the Canva template that contains all of them via this link.
We hope this article helps and inspires you.
Enjoy creating! If you have any questions or suggestions leave a comment below.


