
If you’re looking to create engaging images and designs with a 3D pop out effect then this article is for you.
We’re going to show you how you can easily create a pop out effect using Canva in a few easy steps.
Let’s go.
Jump to a specific section:
- Option 1: Using a frame
- Step 1: Upload or choose an image
- Step 2: Copy the image and remove the background
- Step 3: Add a frame element
- Step 4: Line up the images (and lock)
- Step 5: Crop the top image
- Bonus step
- Option 2: Using a graphic or image
- Step 1: Upload or choose an element
- Step 2: Add your photo
- Step 3: Crop the photo
- Step 4: Align the photos
- Step 5: Crop the top photo
- Bonus step(s)
Option 1: Using a frame
The first method for creating a pop out or 3D effect in Canva is by utilizing the frame elements in Canva.
We’re going to creating a profile picture example, with the person’s head popping out the frame. It’s a great effort for creating a profile picture that stands out.
Here are the steps for that:
Step 1: Upload or choose an image
Obviously, if you want to use an image of yourself for this you should upload a suitable image of yourself to Canva but in this example we’re going to choose an image from Canva’s photo library:
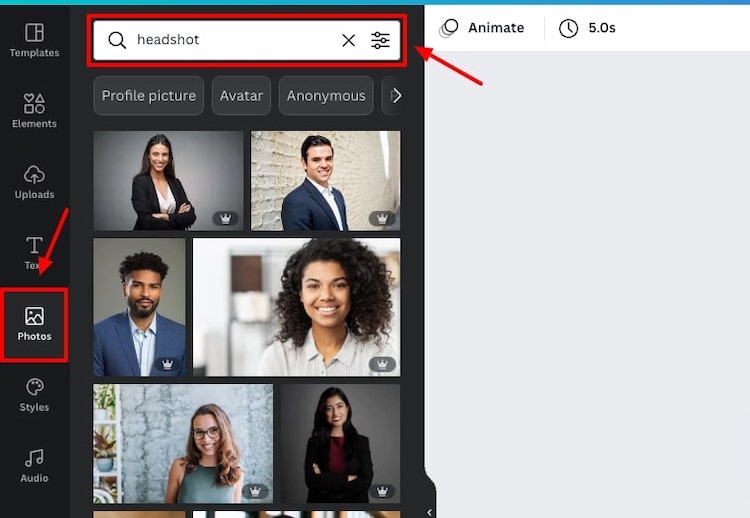
We found it easier to use portrait style images rather than landscape images for this process but you can use either.
Step 2: Copy the image and remove the background
Once you’ve chosen or uploaded an image, the next step is to copy it.
You can right click on it the image to copy and then paste or use the shortcuts – CMD/Ctrl + C to copy and then CMD/Ctrl + V to paste:
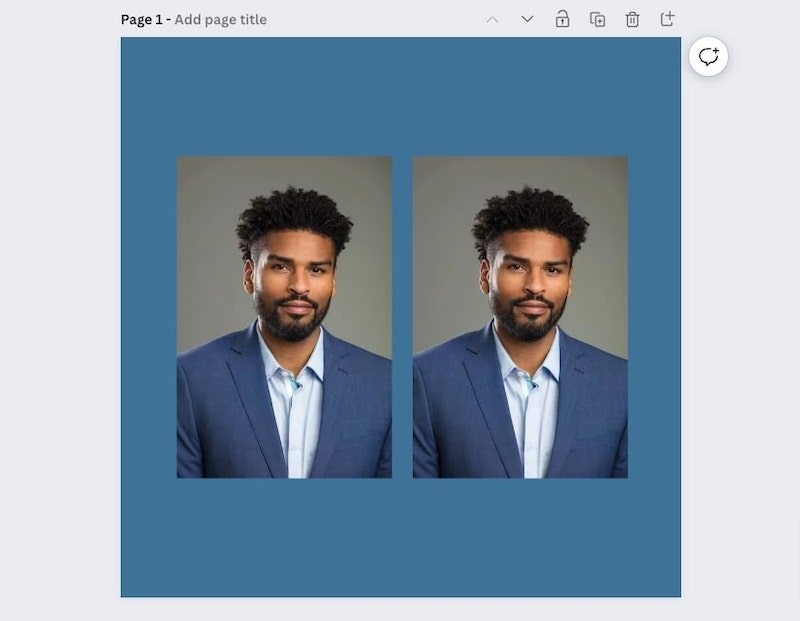
Next, you have to remove the background of the second image. To do this click on the image, go to ‘Edit image’ and then select the ‘Background Remover’.
Note: This is currently a feature for Canva Pro users but there are other tools such as Kapwing that let you do this for free:

Step 3: Add a frame element
Now it’s time add a frame element. For our example profile picture we’ll select the circle frame:

Click on a frame element and it will added to your canvas:
Then grab the first image and drag it on top of the frame element, and it will appear within the frame:
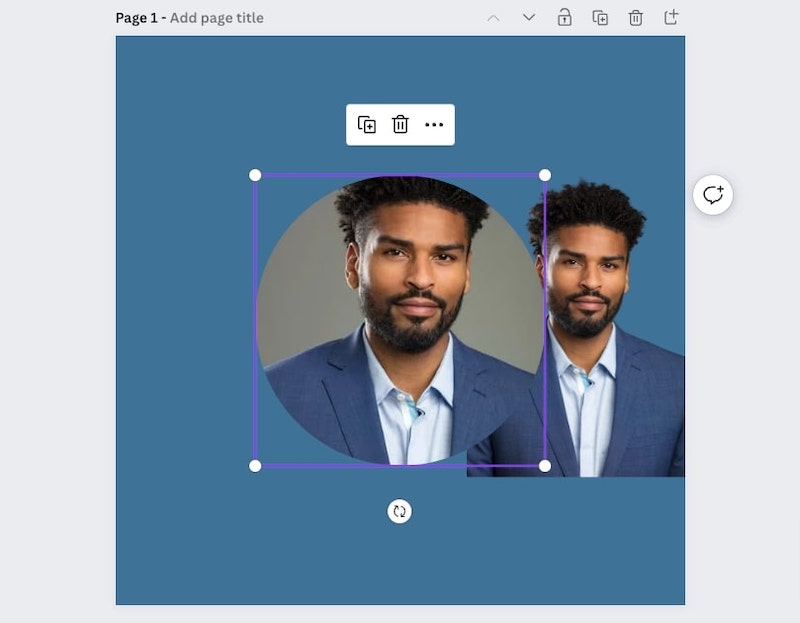
You can adjust the position of the image within the frame by double clicking and dragging it to where you want it or altering the size of it.
To get the pop out head effect we’ll want the top of the head to be cut off inside the frame slightly, so we can add the second image on top to create the 3D effect:
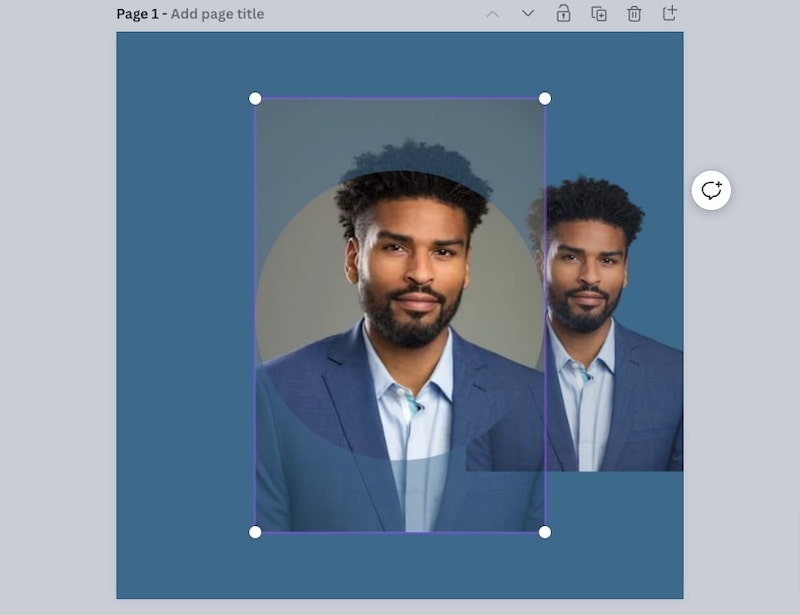
Step 4: Line up the images
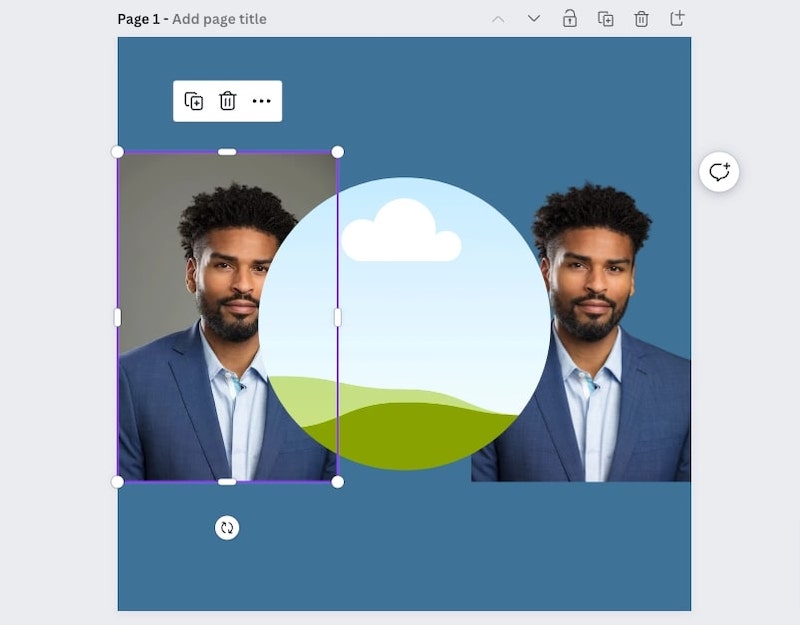
Now it’s time to line up the images. To make this really easy, add block elements at either end of the image in the frame:
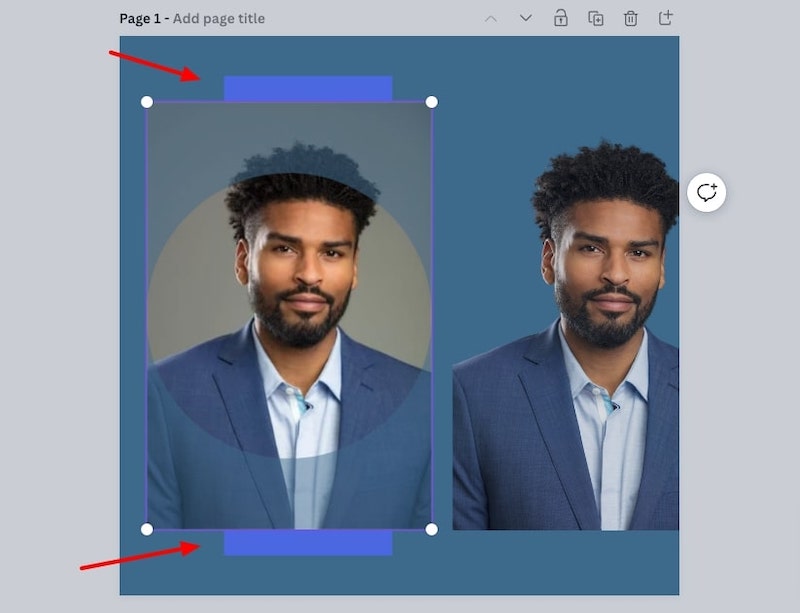
This makes it simple to ensure that the second image with no background is the same size as you can simply use the block elements as a guide to make it the same size as the first image:

Now that images are the same size you can delete the block elements, and then you simply need to select the image in the frame and make sure it’s aligned right in the middle of the canvas.
You can move it around the canvas until you find the middle spot with the guidelines, or select the frame element, go to ‘Position’, and click the ‘Middle’ and ‘Center’ options:
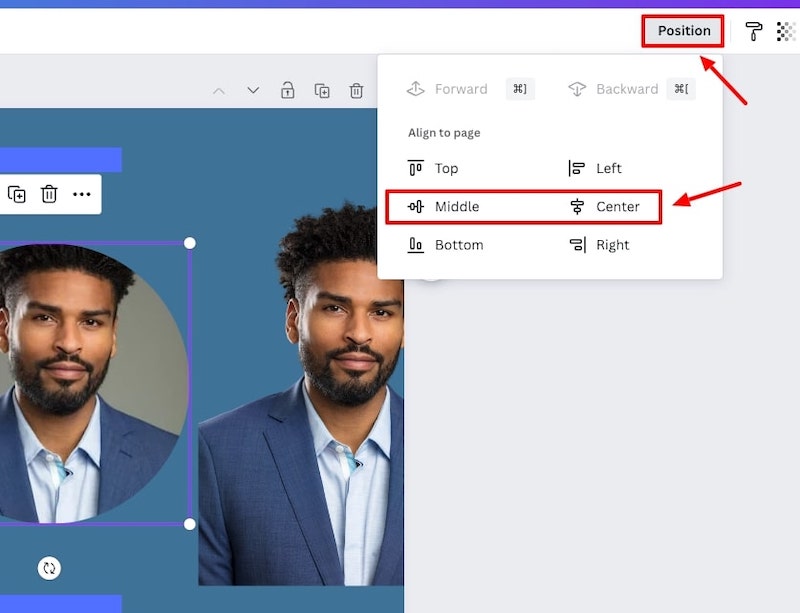
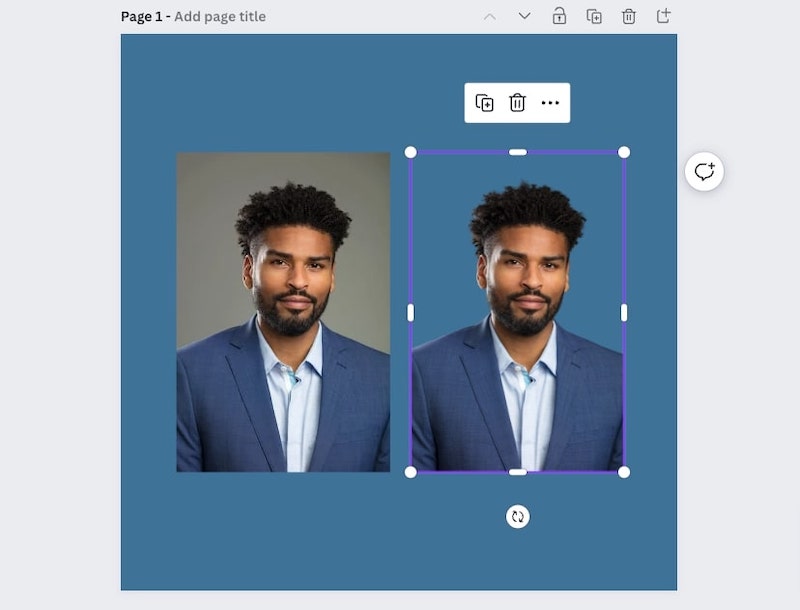
Do the same with the second image, and it will be sitting right over the first image perfectly. You can even change the transparency of the second image to make sure everything looks as it should:
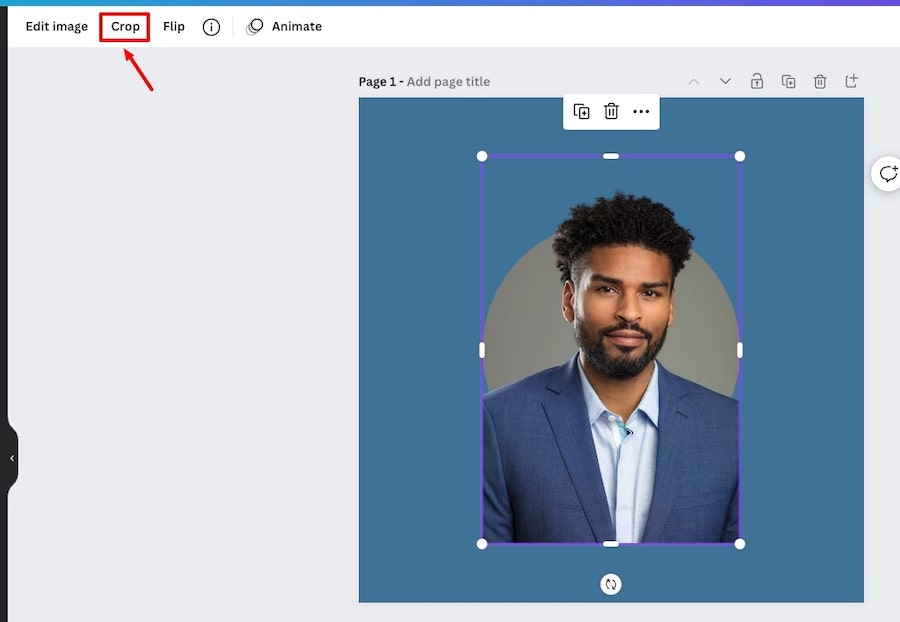
Step 5: Crop the top image
Now that both the images are lined up correctly, you can undo the transparency of the top image, and then crop it to only keep the top part of the image.
To do this select the image, then click crop on the top panel above the editor:
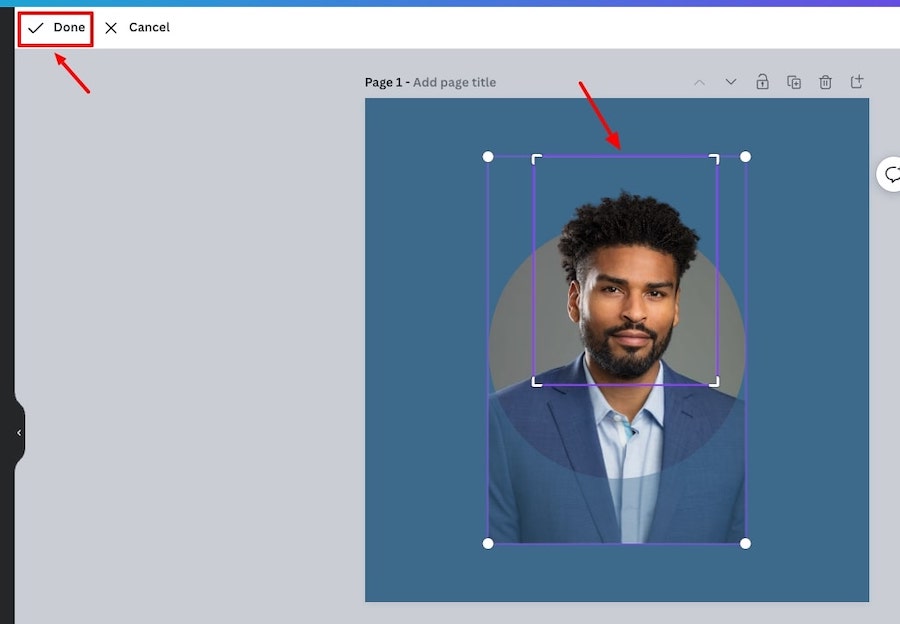
Then crop top image down to what you need from it, and click ‘Done’ once you’re finished:
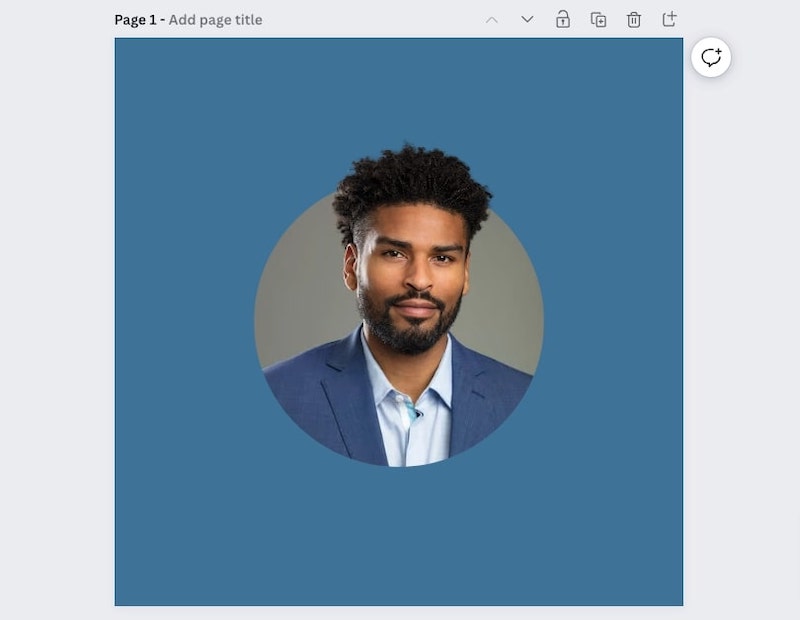
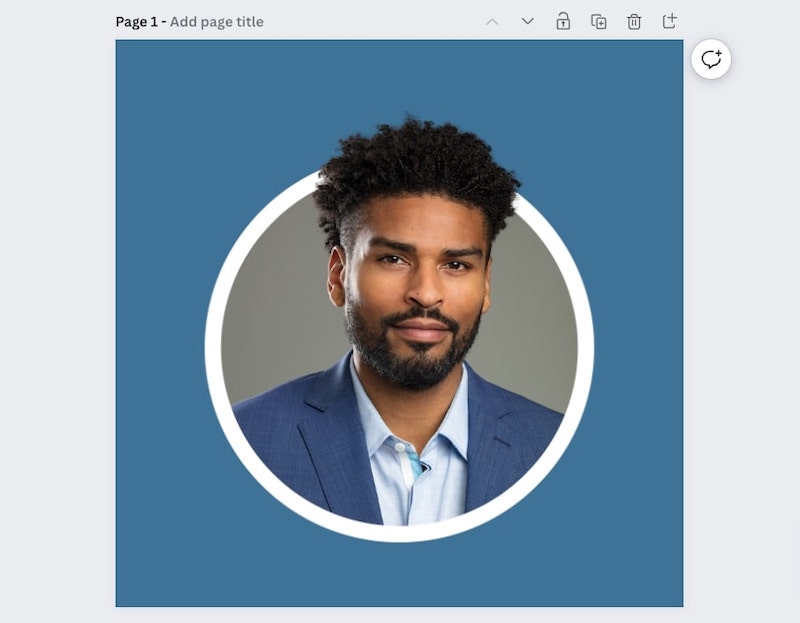
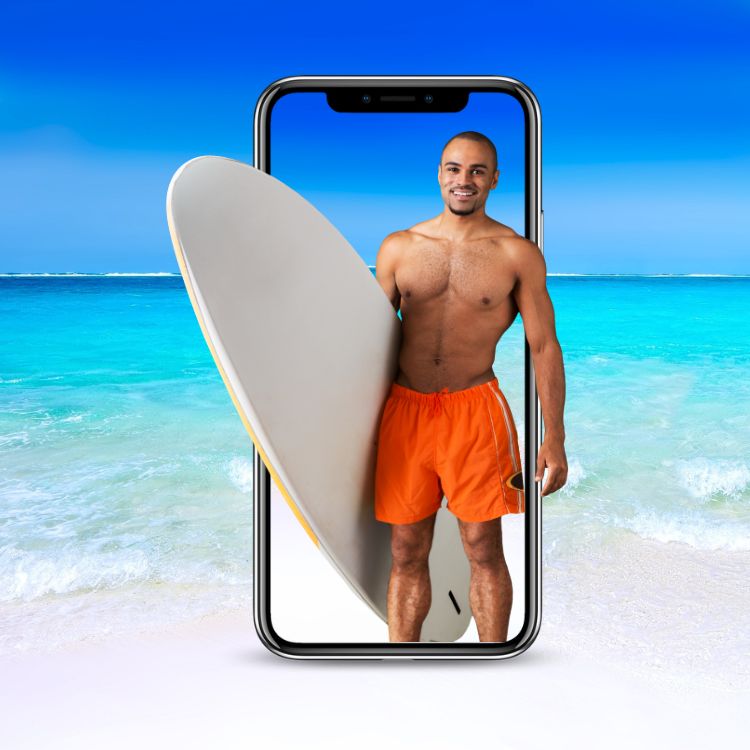
And that’s it. You should have a profile image with a 3D pop out effect:
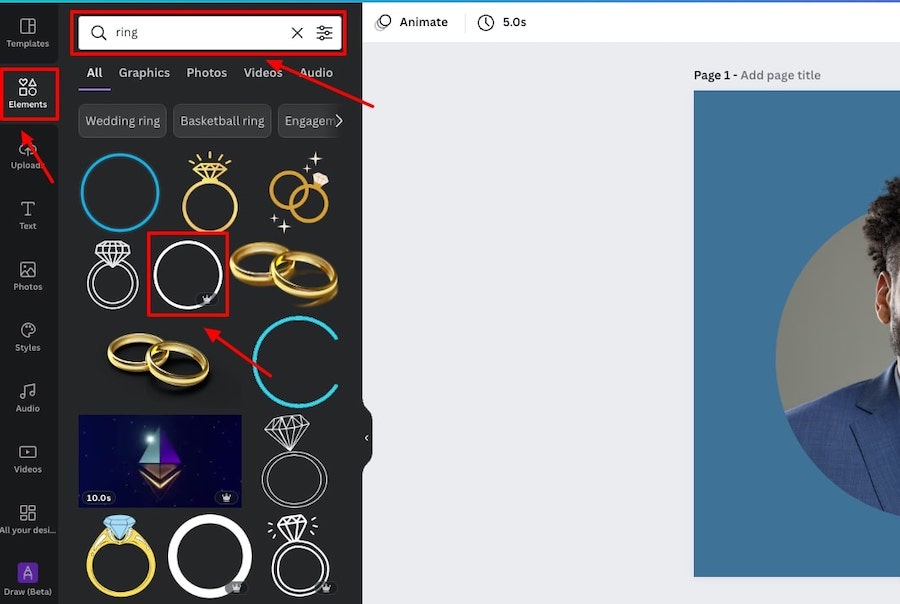
Bonus step: Spruce it up
If you feel like sprucing up your new profile photo even more, you can add other elements to the design.
For example, we searched for ‘ring’ elements and added one to the design:
Here’s how our final profile photo with a 3D pop out effect looked:
Option 2: Using a graphic or image
With the second option we don’t need to use one of the frame elements, we can use a graphic or another image from Canva to act as the frame.
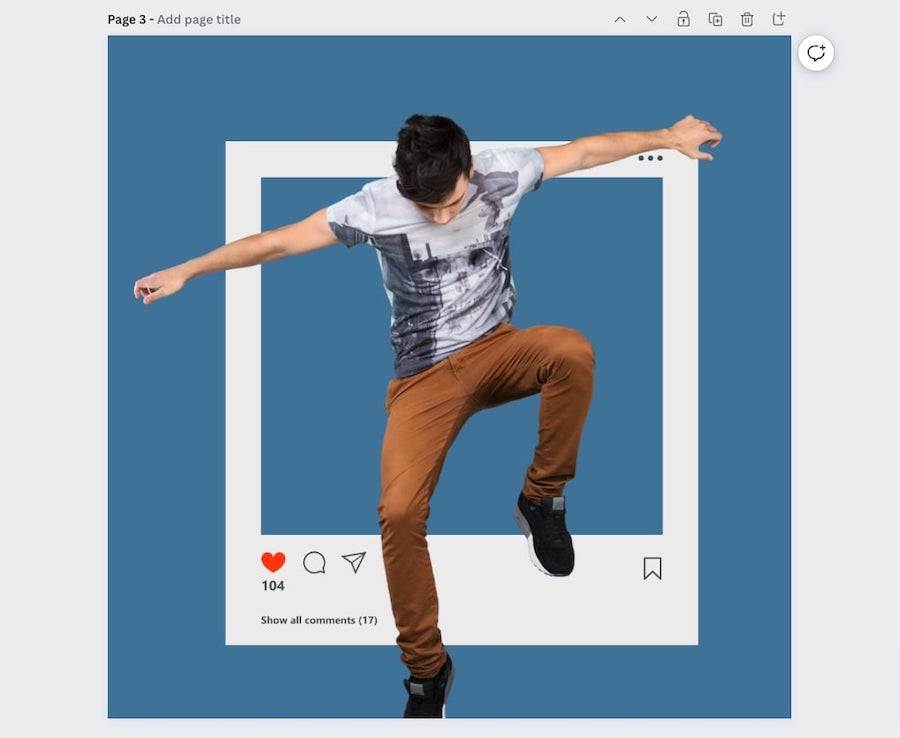
We’re going to use an image of an instagram post, and make it look like someone is coming out of it.
Note: You need to choose images or graphics that have a transparent background or ones that will allow you to create this effect, so keep that in mind when choosing your elements.
Here are the steps for this option:
Step 1: Upload or choose an element
If you have an image or graphic that you want to use you can use as your ‘frame’ you can upload it to Canva, otherwise there are plenty to utilize in the elements in tab.
As mentioned, we’re using an instagram post element as our frame, and a quick search brings up a few options:
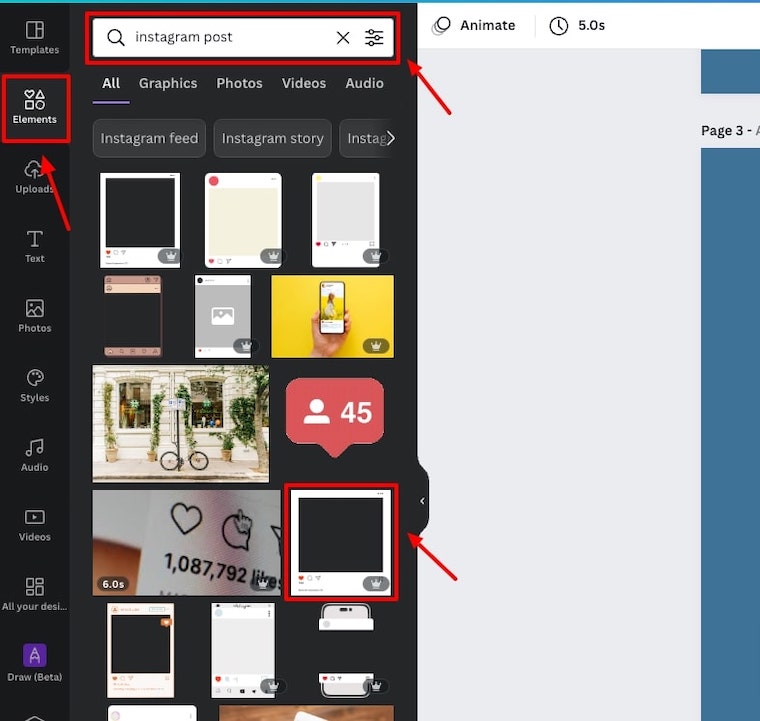
Find an element you like and click on it to add it to your canvas.
Step 2: Add your photo
The next step is to find and add a photo that you want to use for your pop out effect. We’re going to use a photo of a guy that looks like he’s stepping or jumping out of the instagram post.
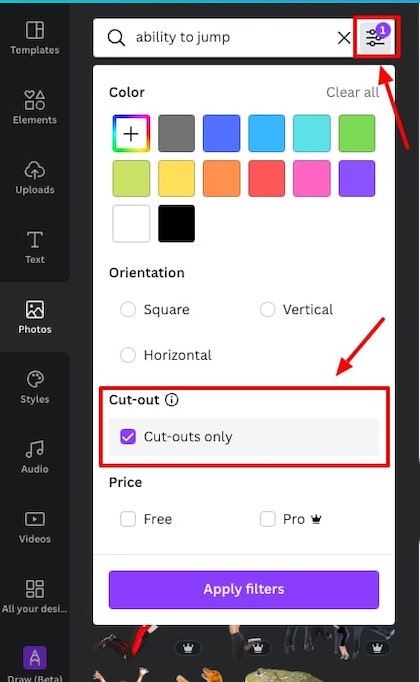
We put in a search in the photos tab, and also applied a filter to only show ‘cut-outs’ which are photos with a transparent background:
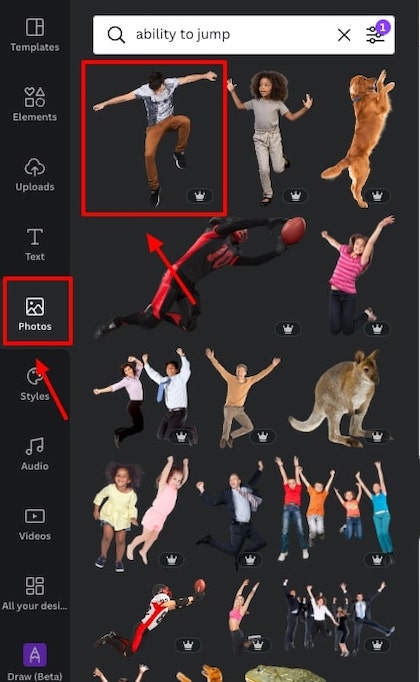
Again, once you’ve found your ideal photo, click to add it to the canvas.
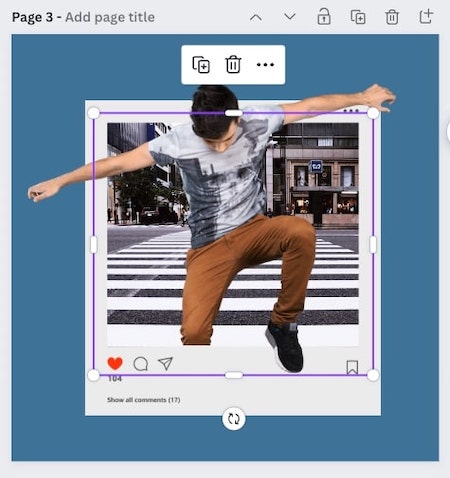
Step 3: Crop the photo
Our chosen photo is now sitting on top of the instagram post element. So, the next step is to position it to where we want on the canvas (if you’ve selected a photo with a background you’ll have to remove that first):
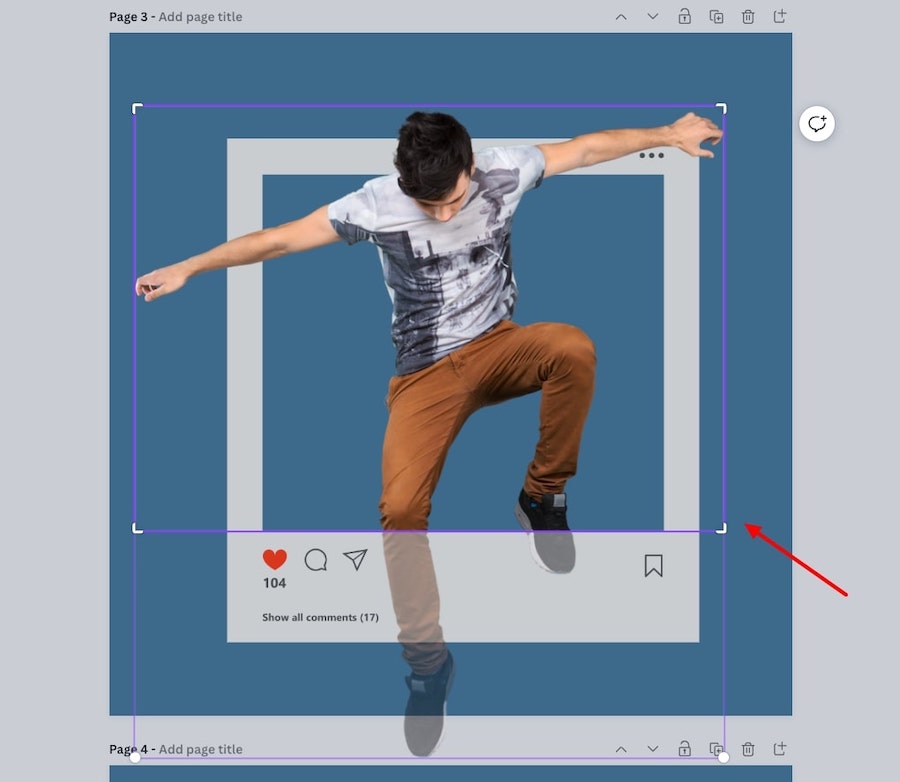
We can then crop the photo down to what we need to start the 3D pop out effect:
Step 4: Align the images
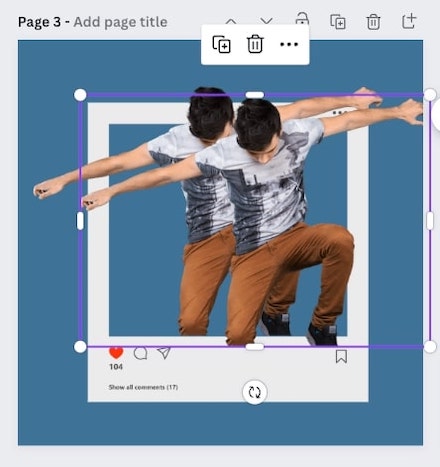
Now we have to copy the photo (right click > copy or CMD/Ctrl + C and then CMD/Ctrl + V to paste) and then make sure the two photos are lined up correctly:
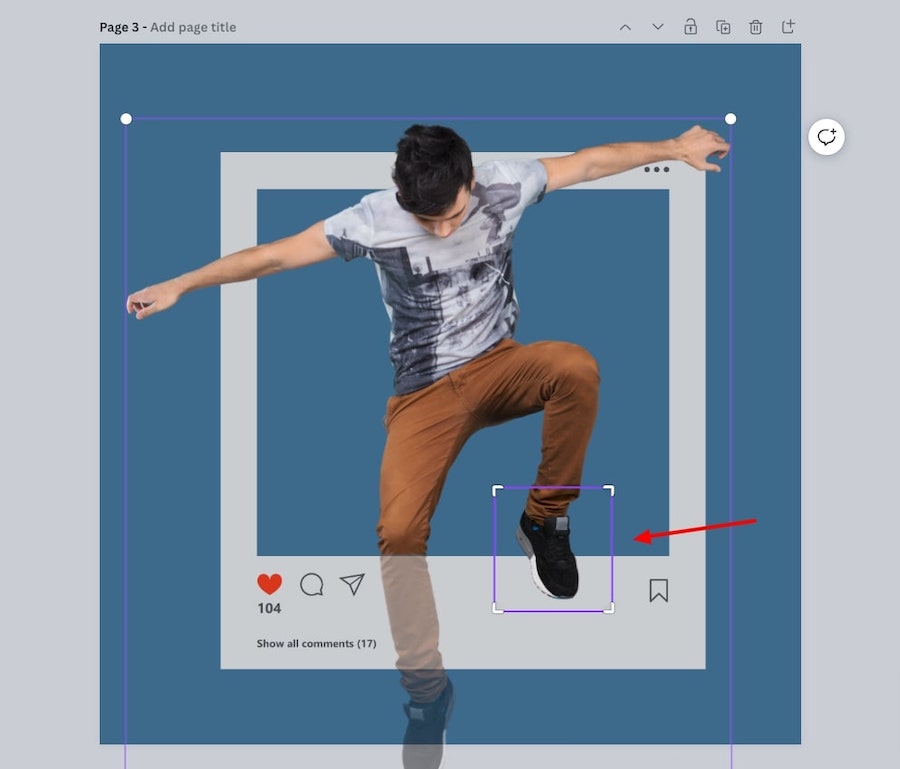
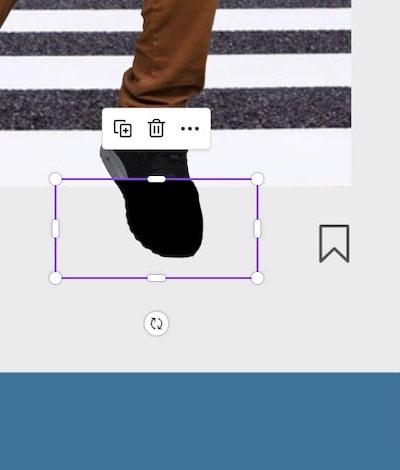
Step 5: Crop the top image
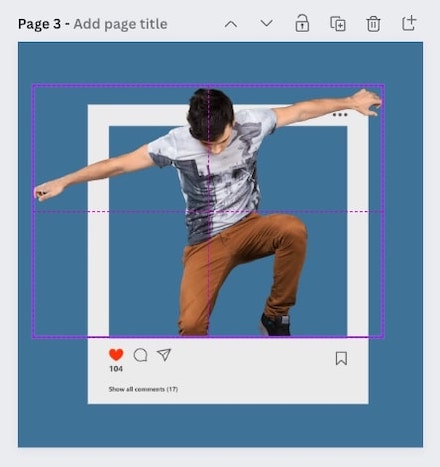
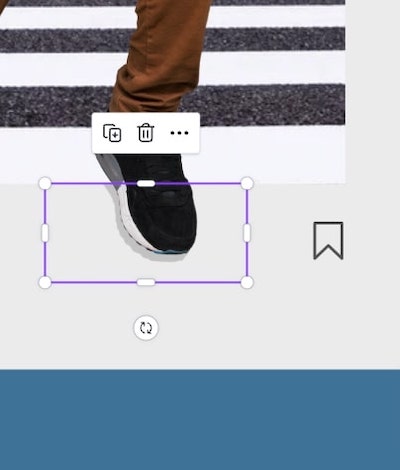
Now to further enhance the 3D pop out effect we need to crop the top photo to make it look like the left foot is out of the instagram frame:
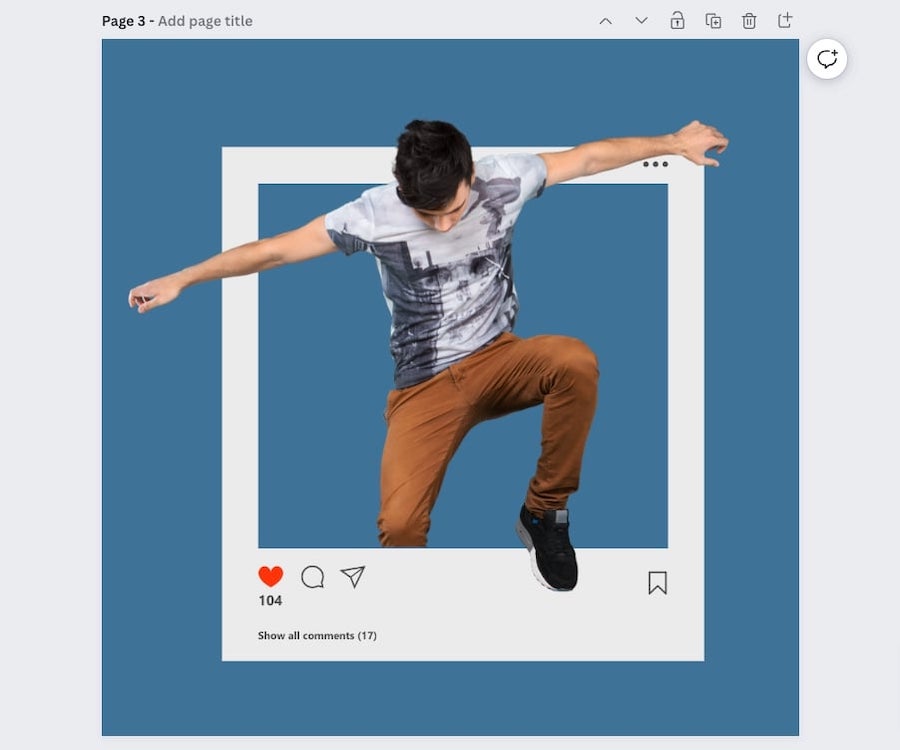
And that’s it. You’ve got a 3D pop out effect using different graphic elements and photos from Canva:
Bonus step(s): Spruce it up
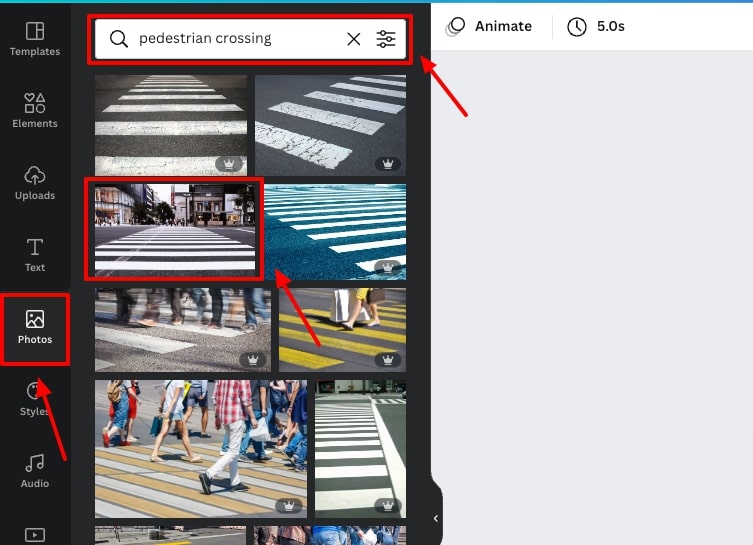
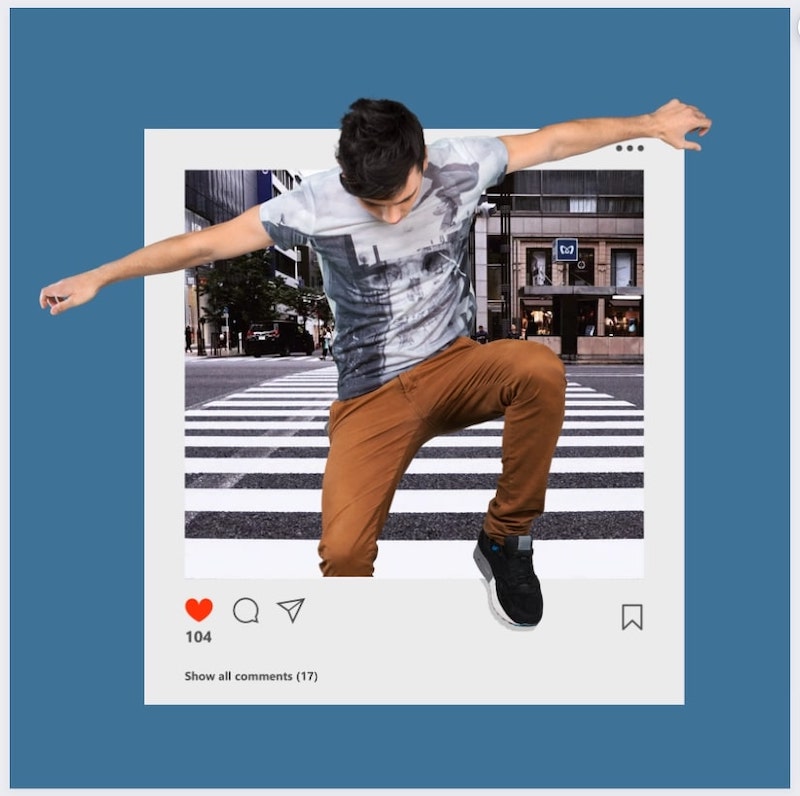
We can still make this design look even better with a few more details, so we’re going to add a background photo for the instagram post.
We searched for pedestrian crossing photos, and added one to the canvas:
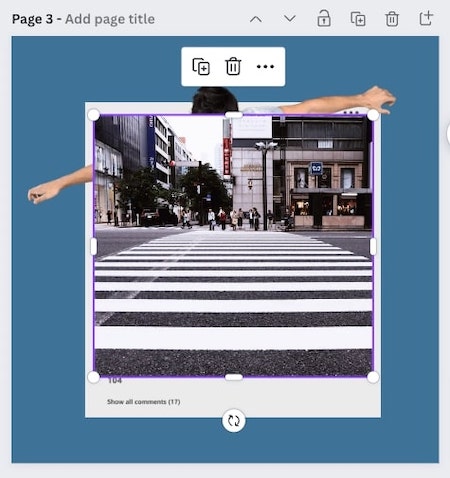
We then cropped the new image to fit within the instagram post element dimensions, and then moved the background photo down the layers so it was behind the other elements of the design:
We also wanted to add another small detail, which was a shadow under the left foot of the man in the design.
To do that we copied the top image of the man, added a photo effect (Duotone) to make the copied photo all black, altered the transparency of the photo, positioned slightly lower than the original photo, and then moved it down one layer:
Here’s our final spruced up 3D pop out effect design:
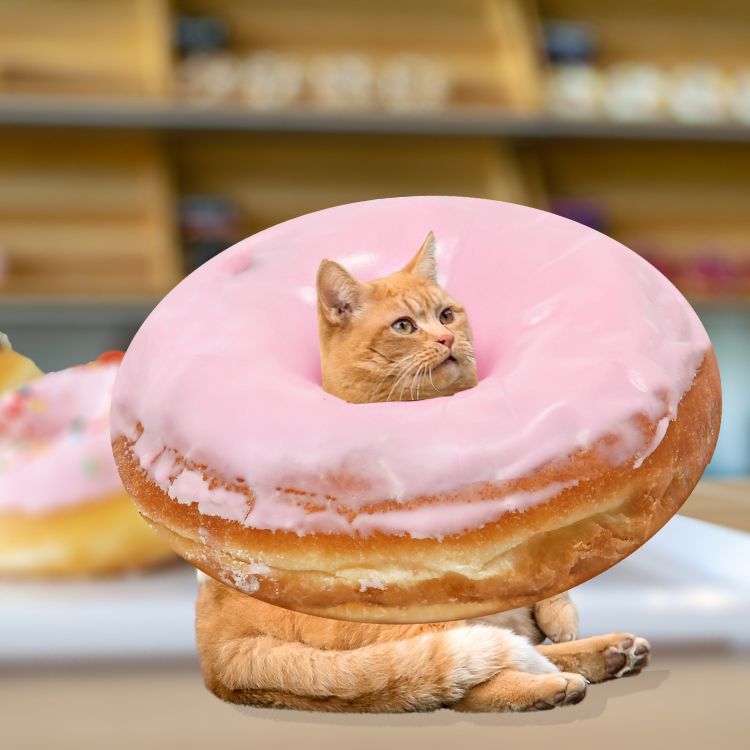
Examples of other 3D pop out effect designs
Just for fun we made a couple more examples:
Related articles
- How to use Canva
- Canva tips and tricks
- Canva Pro review
- How to make a transparent background in Canva
- How to use frames in Canva
Wrapping things up
So, there you have it, that’s how you can quickly, and easily creating designs with a 3D pop out effect using Canva.
Canva makes this incredibly easy to do, and it allows you to create some fun and engaging designs.
We hope this guide helped you! If you have any questions or suggestions leave a comment below.