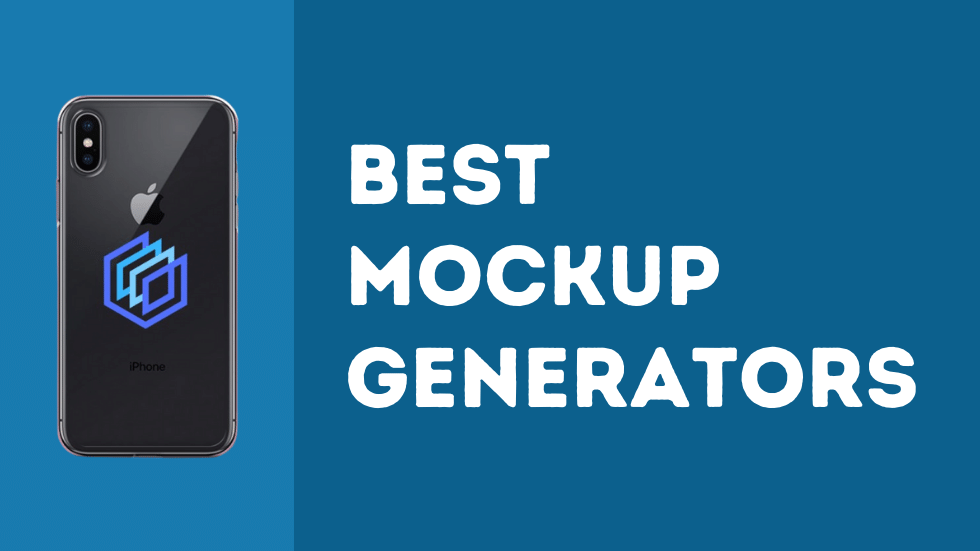
If you’re looking for the easiest and quickest way to create quality mockup images for your online store or to present your design work to clients then one of the best options is to use a mockup generator.
There are plenty of mockup tools online today, including free mockup generators but not all of them offer the quality and functionality that you might be looking for.
Lucky for you we’ve tried out all the major mockup generators and put together a list of the best ones to make it easy for you.
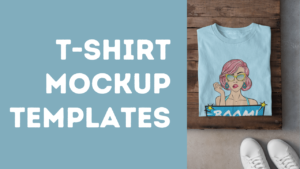
Use the links below to jump to a specific mockup generator:
- Placeit
- Smart Mockups
- Renderforest
- Media Modifier
- Artboard Studio
- Vexels
- Mockuper
- Printful
- MockupMark
- Mockup.Photos
- MockupBro
- MockupsJar
- Magic Mockups
- MockuPhone
- Dimmy.club
- Threed.io
- WoFox
How we tested the tools
To properly review each mockup generator we scored them in four main categories:
- The volume and variety of mockup templates
- Tool usability and features
- Quality of the final images
- Overall value
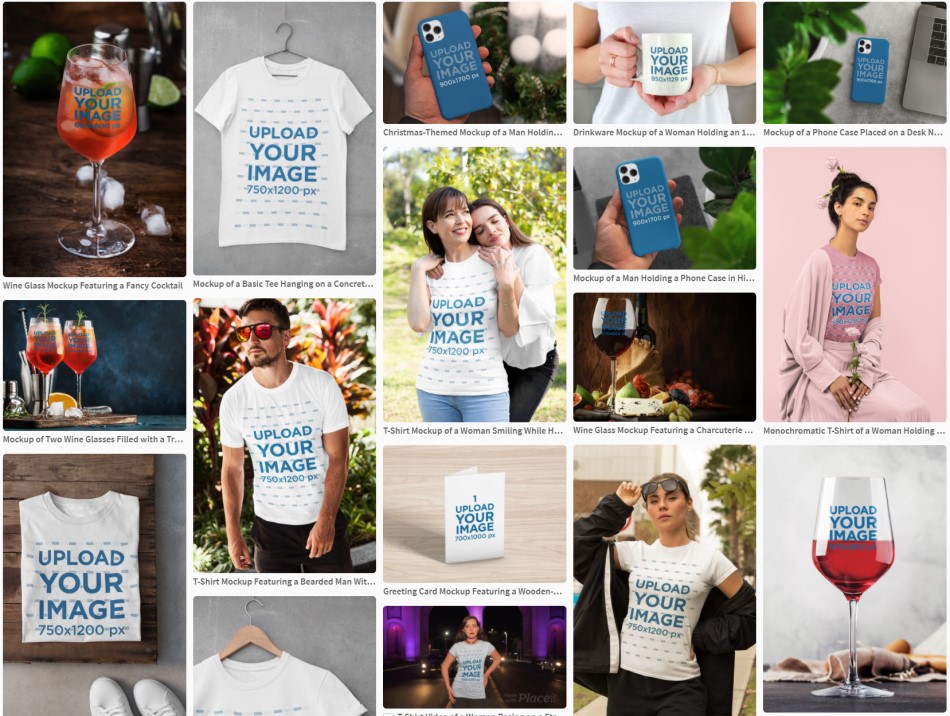
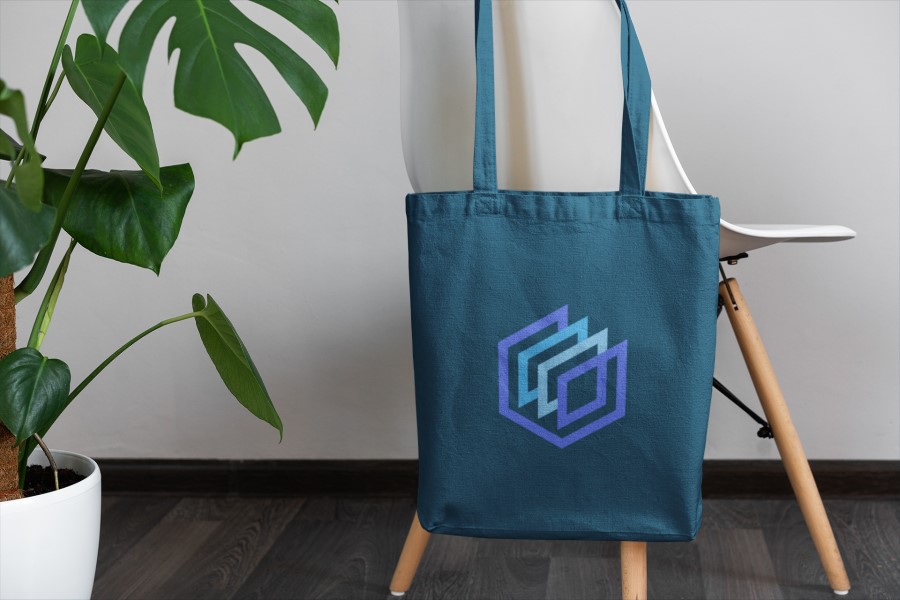
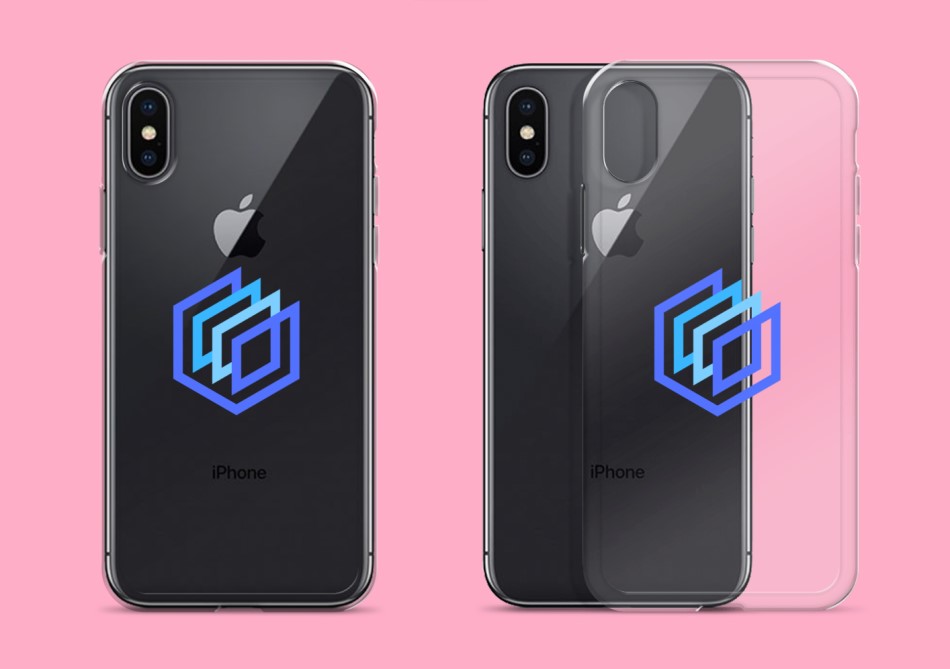
To have a fair comparison of the different tools we used the same design with every mockup generator. Our own logo:
Mockup Generators
If you’ve never heard of or used a mockup generator before, here’s a quick explanation.
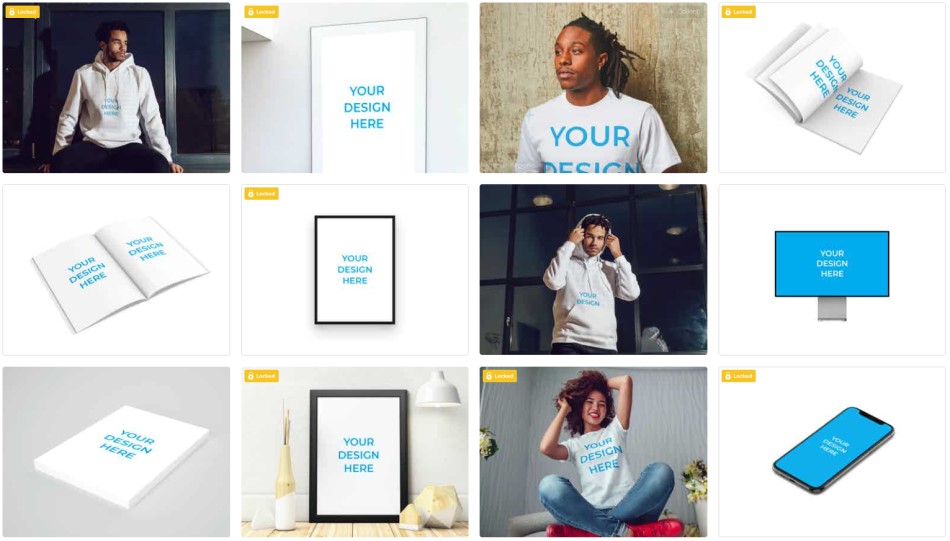
They’re simply online tools that let you quickly and easily place one of your designs onto an existing image. This can be one with a model or simply a product by itself (e.g. a t-shirt mockup generator or book mockup generator).
They’re incredibly easy to use but the only downside is that you lose out on some of the customization options you would get if you used a tool like Adobe Photoshop.
However, there are more and more tools providing quality mockup templates (such as all the ones in this list) so you’re bound to find some images that have what you’re looking for.
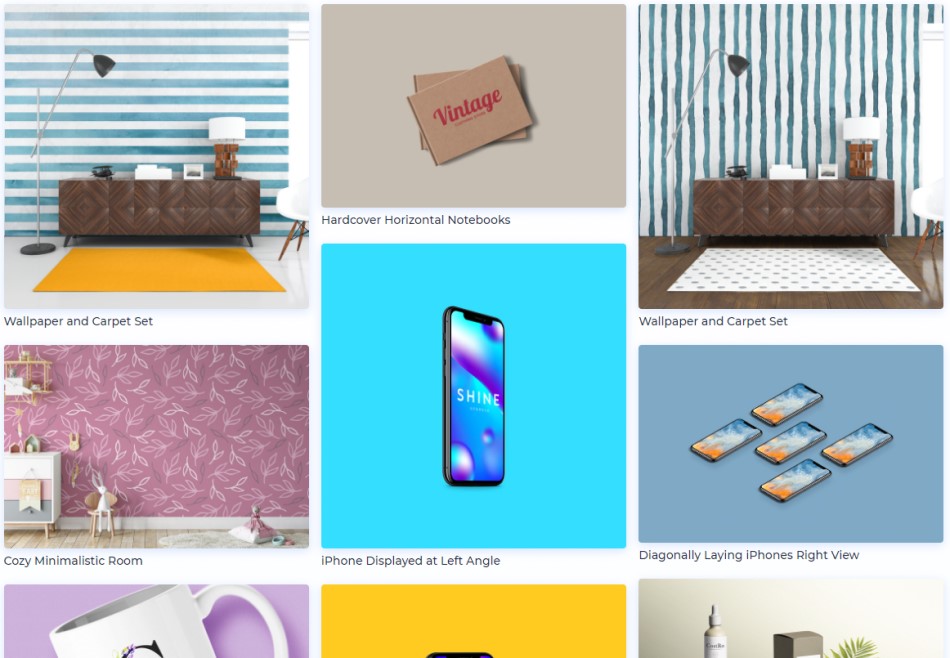
#1 Placeit Mockup Generator
Placeit is an online design tool that lets you create a huge number of different things including t-shirt designs, logos, social media designs, and so much more.
Their most widely used feature is probably their mockup generator. They have an incredible amount of mockup templates including t-shirt mockups, hoodies, devices, packaging, books, the list goes on. They even offer video mockups!
At the time of writing, they have over 35,000 mockup templates which is way more than any other mockup generator on the list. With a Placeit subscription, you can download an unlimited amount.
With Placeit you can easily filter the templates to find the specific mockup you’re looking for and customizing their mockup templates couldn’t be simpler – you choose a template you like, upload your design, adjust the size and position, and download.
It’s fair to say that Placeit is the best free mockup generator too as they have a sizeable library of free mockups. If your budget is limited there’s still likely to be something there for you too.
Overall, we think Placeit offers an incredible amount of value for money and their quality mockup template library has so much variety which is why it’s at the top of the list.
Mockup we made with Placeit:
Pricing:
- Some free templates
- Individual mockup: $7.95
- Monthly subscription with unlimited downloads: $14.95
- Annual subscription with unlimited downloads: $89.95
#2 Smart Mockups
Next up we have Smart Mockups which, unlike Placeit, is solely a mockup generator. They have a good range of high-quality mockups, covering various categories, and offer some free templates too.
Smart Mockups falls just behind Placeit in a few categories but most significantly in the number of templates they have on offer which is quite a bit less (currently they have around 6000 templates), and also the filtering options.
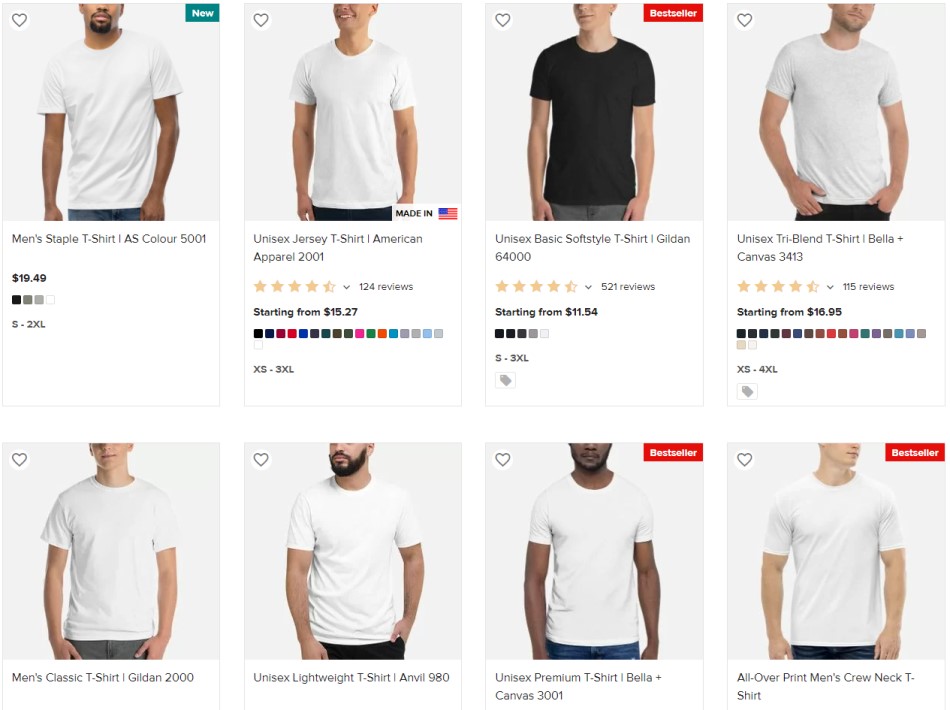
However, many of the templates are great for print on demand sellers, or for people looking for mockups for Etsy product listings such as their hoodie mockup generator.
They also offer users the ability to create custom mockups. This means you can upload your own images, and turn them into a mockup, it’s a fantastic feature!
Smart Mockups also has integrations that set it apart from some of the other tools on this list, including the ability to import designs directly from Canva. If you create a design in Canva you can import it into your Smart Mockups account with one click, it’s a huge timesaver.
They also have some other integrations including one with Unsplash which allows you to use their image database to change the background images of the mockup you’re creating with Smart Mockups.
Mockup we made with Smart Mockups:

Pricing:
- Some free templates
- $14, $24, or $84 monthly subscription (tiered options) all with unlimited downloads
- $108, $228, or $828 annual subscription (tiered options) all with unlimited downloads
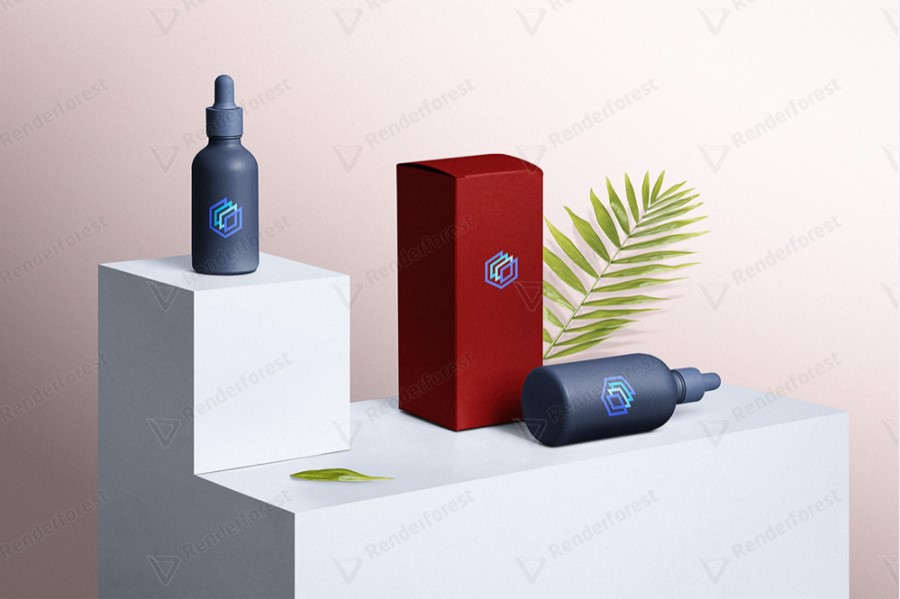
#3 Renderforest Mockup Generator
Renderforest is an online design tool, similar to Placeit, that lets you create a variety of things including logos, videos, and even websites. They recently added their own mockup generator which has a solid amount and variety of mockup templates available.
There’s not a whole lot in the way of filters for the mockups on Renderforest so it can make it a bit difficult to find the template you’re going for. However, they have put together some mockup packs to make it easy for users to find similar groups of mockups.
With Renderforest it’s very easy to customize their mockups. You just need to choose a template, add your design, choose the color you want, and download it.
A good feature of their mockup generator is that they show you how your design looks on similar mockups when you are customizing a template. So, if you like how your design looks on another template you can easily select that one.
Mockup we made with Renderforest:
Pricing:
- Free mockups (with watermark)
- $3.99: Individual mockup
- $19.99 – $59.99: Monthly subscription plans with unlimited downloads
- $83.88 – $599.88: Annual subscription plans with unlimited downloads
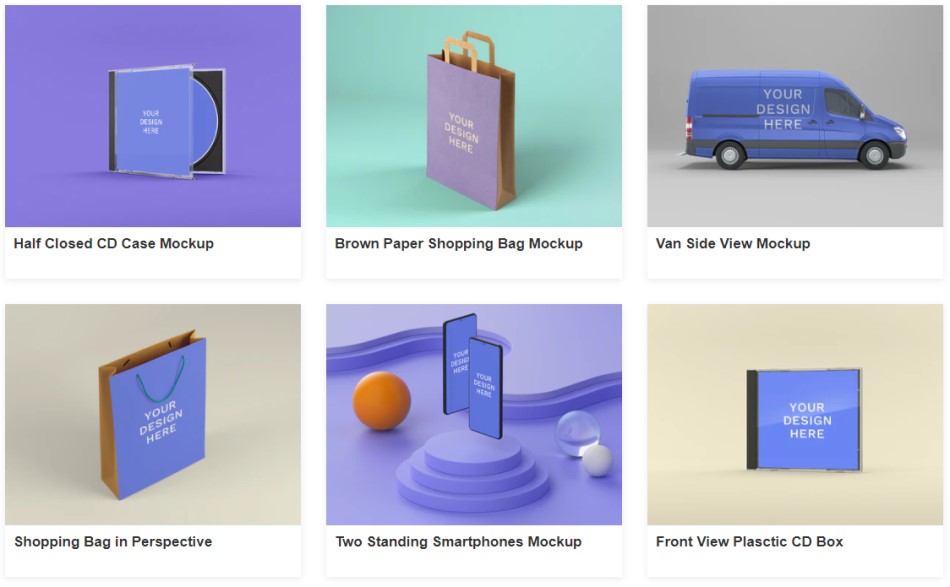
#4 Media Modifier
Media Modifier started out as purely an online mockup generator but has since expanded its offering to include more templates such as designs for Instagram, Facebook, and YouTube.
They currently don’t have a huge range of mockups available (around 3000) but what’s on offer is very good quality.
Like with most of the other mockup generators on this list modifying the mockup templates is incredibly easy, you can have your mockup designs ready to go in no time at all.
There are a few features that Media Modifier has that most of the other mockup tools on this list don’t offer currently such as the ability to download your mockup file as a PSD.
If you’re looking to easily place your image on a digital screen, Media Modifier is a great option for you as they have a solid selection of device mockups.
You can also choose to download your mockup as a PNG or JPG file. Something that Placeit currently doesn’t offer (you can only get their templates as PNG files).
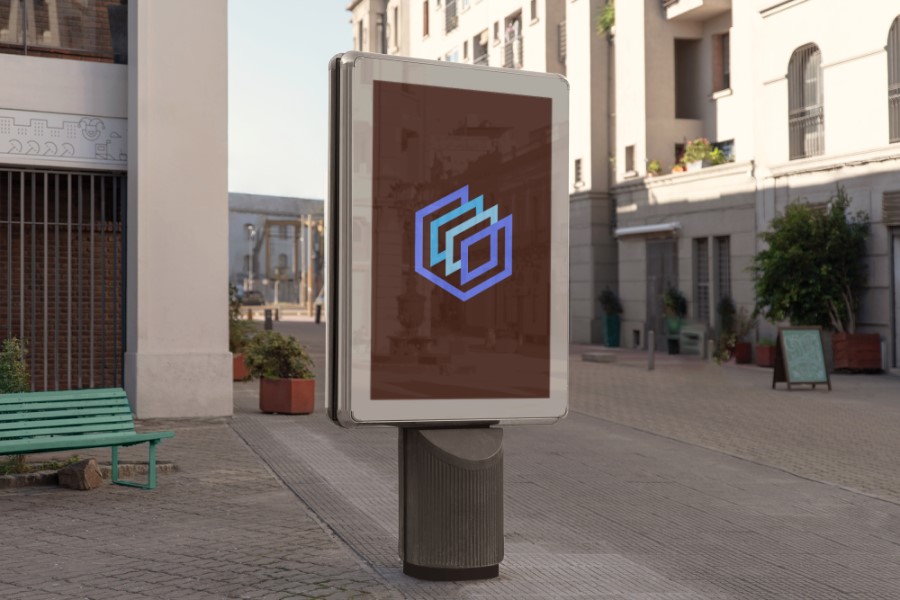
Mockup we made with Media Modifier:
Pricing:
- Free (images have a watermark)
- $19: Monthly subscription with unlimited downloads
- $108: Annual subscription with unlimited downloads
#5 Artboard Studio
If you’re looking for an online mockup generator that gives you a lot of control over your designs then Artboard Studio could be just what you’re looking for.
Similar to more advanced design tools like Photoshop, your designs on Artboard Studio will have layers. You can modify them, add more, delete them, etc. so it gives you far greater customization options than any other tools in this list.
With Artboard Studio you can create mockups from scratch by adding their premade design elements to a blank canvas. However, the easier option is to select one of their templates and modify it to your liking.
Where Artboard Studio falls a bit short is the amount of templates they currently have to offer. At the moment they have around 1300 templates which is still a decent sized library but not quite as many as some other mockup generators.
The learning curve for their tool is also much greater than any other tool in this list. It takes a while to get your head around it. So, if you’re looking for a quicker and easier option go with another tool like Placeit.
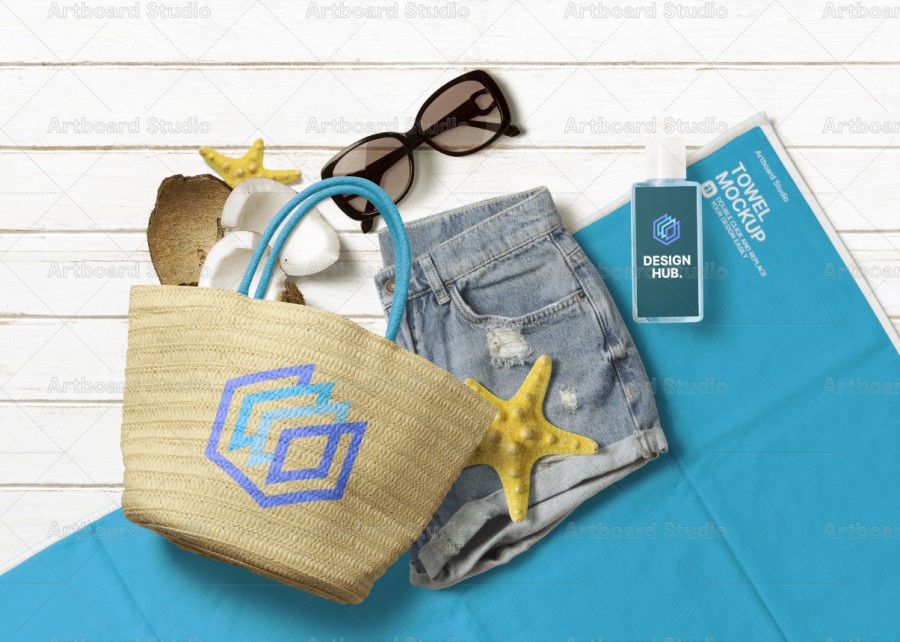
Mockup we made with Artboard Studio:
Pricing:
- Some free templates
- $15 per month for an unlimited subscription
#6 Vexels Mockup Generator
Vexels is a site that has a huge library of ready-made graphic resources. Their mockup generator is slick and easy to use but doesn’t quite make the top five as it has a couple of areas where it’s not as strong as some of the other mockup generators.
They have a relatively small selection of mockup templates currently (around 260) but the product is quite new so hopefully they will continue to grow the library because it’s a really solid mockup generator!
They also currently don’t have any free mockups as far as we could tell, and you can’t currently buy individual mockups which means if you want to download any of their templates you need to get a subscription.
Their mockup generator does have some unique features though such as the ability to rotate your design and customize your templates in a much smoother and more seamless way than some of the other tools on this list. They also offer some mockups with a transparent backgrounds.
Another feature we really liked is that when you edit a mockup there are related mockups in the sidebar of the interface which display your design too, and you can select another template if you like how your design looks on it.
Mockup we made with Vexels:
Pricing:
- $9.99 – $89.99: Monthly subscription plans
- $90 – $816: Annual subscription plans
#7 Mockuper
If you’re looking for a completely free mockup generator then you won’t find many better than Mockuper. With over 800 templates it’s a sizeable collection of free mockups.
Unlike some of the other free mockup generators, Mockuper offers some decent customizations options.
This includes the ability to customize the reflection on device screens, change the background color (on some templates), and also add extra layers such as a text overlay.
Mockuper is incredibly easy to use allowing you to create designs within seconds. If you’re on a tight budget and need some quality mockup images you should check it out.
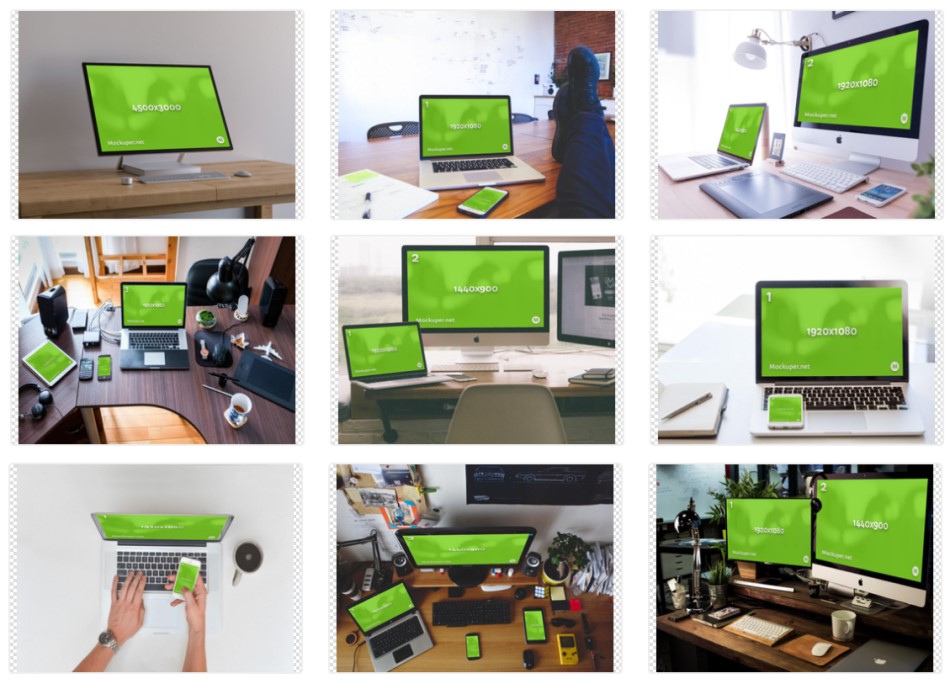
Mockup we made with Mockuper:

Pricing:
- 100% free
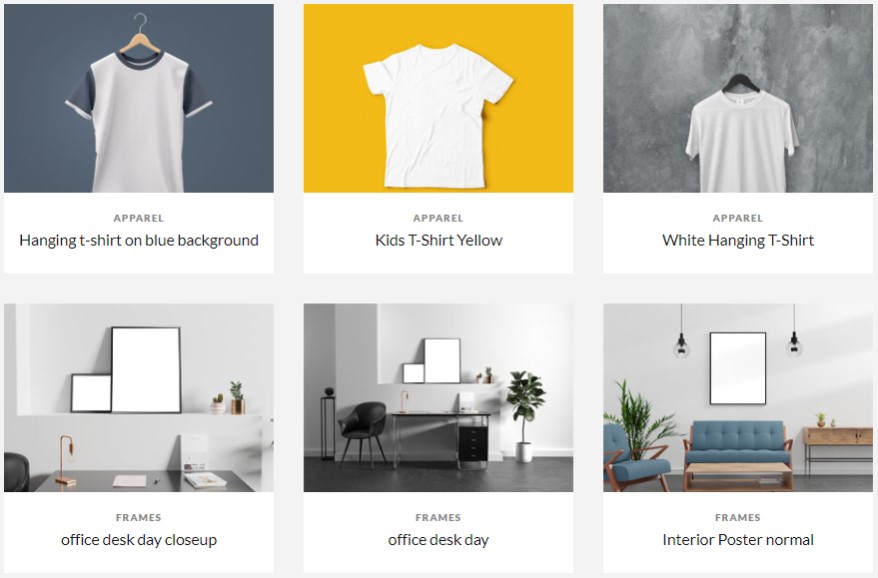
#8 Printful
If you’re using Printful for your print-on-demand business then you could take advantage of their free mockup generator. With their tool, you can generate print files and mockup photos all within the same platform.
Printful offers a good-sized selection of mockups for the products in their catalogue including apparel, mugs, posters, pillows, and much more.
You can also filter the templates by brand so if you’re selling a specific brand on your store you can easily choose that with Printful’s tool (if they offer it).
Printful’s mockup generator itself is very easy to use and has all the customization options you’d expect such as the ability to add your own design, place it, resize it, and also choose the item color.
The only issue with using the mockup images that Printful is that they’re a bit basic so if you’re looking for unique mockups to display your designs on we’d recommend looking at one of the other tools on this list.
Related article: How to use Printful’s mockup generator
Mockup we made with Printful:
Pricing:
- 100% Free
#9 MockupMark
MockupMark is relatively new to the scene when it comes to mockup generators but they look to already have a really solid selection of mockup templates on offer, including some free options too.
All of their mockup templates are in the apparel niche and they have some unique templates that are perfect for online store owners and designers looking to feature their designs on apprel.
One thing we really like about MockupMark is that you can filter the templates by brand. For example, Bella + Canvas or American Apparel mockups. They’re one of our top recommended Bella + Canvas mockup generators.
For now, the customization options are fairly limited as all you can really do is resize and position any images you upload, and you can also only edit the shirt color on some but not all of their mockup templates.
However, if you’re looking for some unique and stylish mockups, and want to get your images created quickly then MockupMark is definitely worth checking out.
Mockup we made with MockupMark:

Pricing:
- Some free templates
- $14.99: Monthly subscription with unlimited downloads
- $119.88: Annual subscription with unlimited downloads
- $299.99: One-time fee for lifetime access
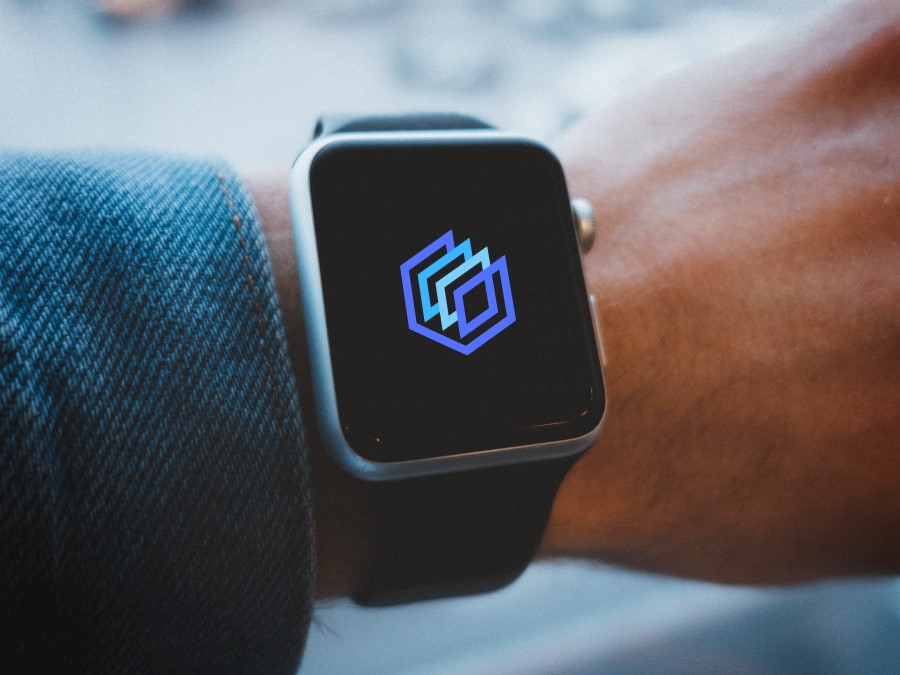
#10 Mockup.Photos
Another high-quality 100% free mockup generator is Mockup.Photos which has a decent-sized library of templates with over 1500 available at the moment.
Most of the images on the site are from stock image sources such as Pexels and Unsplash, and the team at Mockup.Photos has made those images available as free mockups.
The majority of the templates on the site are of devices such as iPhones, tablets, desktop screens and smart watches, however there are some mockups in other categories including posters, billboards, and a free book mockups.
When it comes customizing the mockup templates it’s very easy, however you’ll need to ensure whatever design you plan to upload is the right dimensions for your chosen mockup. If not, then it won’t work.
As a 100% free mockup generator Mockup.Photos is well worth checking out.
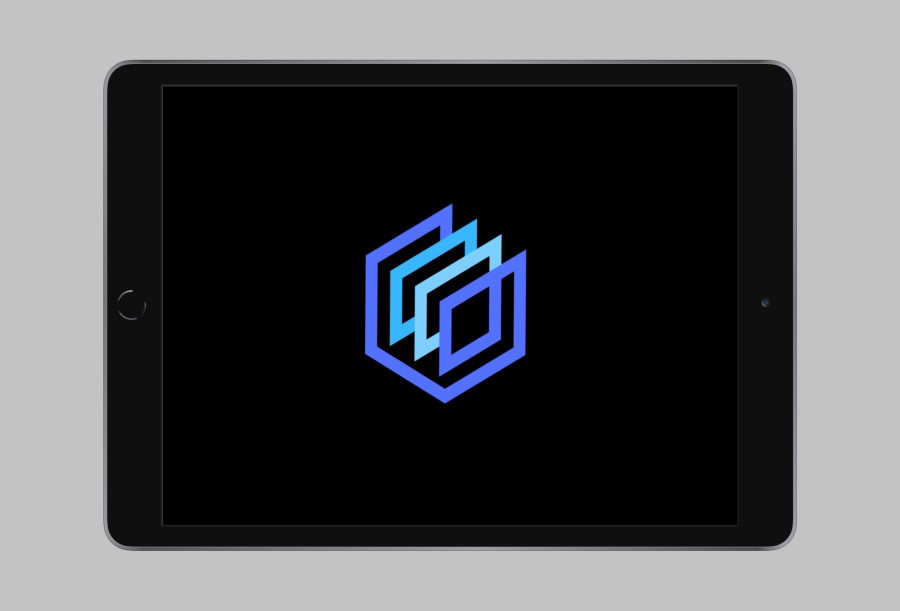
Mockup we made with Mockup.Photos:

Pricing:
- 100% free
#11 MockupBro
Next up we have MockupBro a free mockup generator that is really smooth and easy to use. Anyone can use it!
All you have to do is select one of their templates, adjust the background color (only available on some templates), upload your design, and download. It takes no time at all.
The only downside with MockupBro is the limited number of mockup templates on the site. Currently there is only around 84 templates.
However, as mentioned everything there is 100% free to download, so if you need some quality free mockups then you might just find what you’re looking for on MockupBro.
Mockup we made with MockupBro:
Pricing:
- 100% free
#12 MockupsJar
When it comes to premium mockup generators MockupsJar is one of the weakest. The interface and user flow aren’t the best, and it can be a little bit confusing at times.
That being said, there are some quality templates available on the platform. This covers categories such as apparel, books, packaging, devices, and more.
You can also try the tool completely for free with your first 20 downloads of premium templates being 100% free, making a decent option as a free mockup generator.
After your first 20 downloads you’ll either have to subscribe to get access to full resolution mockups or be content with low resolution images (640 x 480 px).
If you’re looking for a premium mockup generator we’d recommend looking elsewhere at the moment.
Mockup we made with MockupsJar:

Pricing:
- First 20 downloads free
- Free plan: Low resolution images
- Personal plan: €5 per month or €25 per year
#13 Magic Mockups

With around 25 mockup templates, Magic Mockups is another solid option when it comes to free mockup generators.
All of the templates on the site include devices such as laptops, smartphones, and tablets. So, if that’s a mockup category you’re looking for then it’s worth checking out.
You can use all the professional looking mockups from Magic Mockups for commercial and non-commercial purposes.
When it comes to customizing the templates, the options are fairly limited. You’ll also need to ensure that the design you’re uploading is the right dimensions, otherwise it won’t site well in the mockup template.
Mockup we made with Magic Mockups:
Pricing:
- 100% free
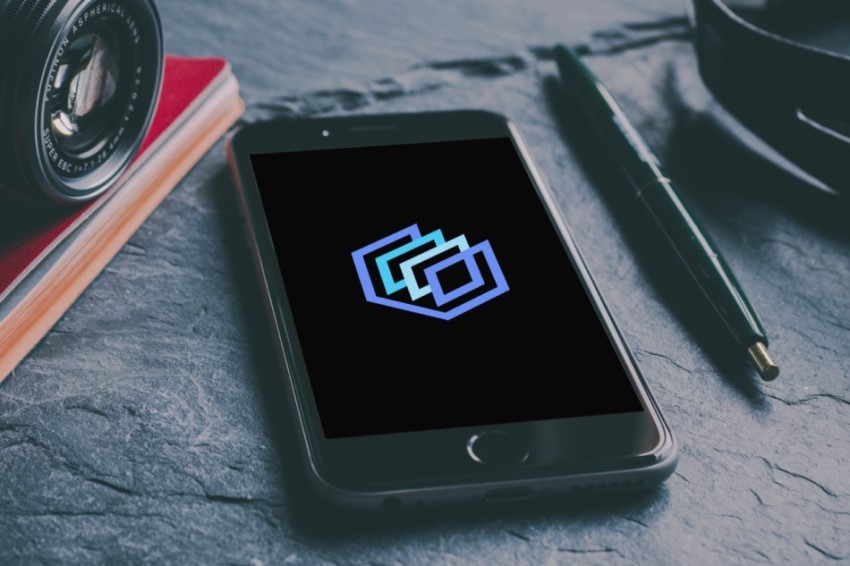
#14 MockuPhone
If you’re on a tight budget and you’re looking for device mockup templates then you should check out MockuPhone.
It’s an in incredibly easy to use and 100% free mockup generator.
They have mockups for all the main Apple devices such as the iPhone, iPad, MacBook, Apple Watch, and more. They also have other templates such as desktop screens, TVs, and more.
Customizing the templates is easy, you simply select a template and upload your device. There aren’t many customization options beyond that though, and you’ll need to ensure your design is the correct dimensions for the mockup template.
If you’re after simple but quality device mockups then MockuPhone might just have what you’re looking for.
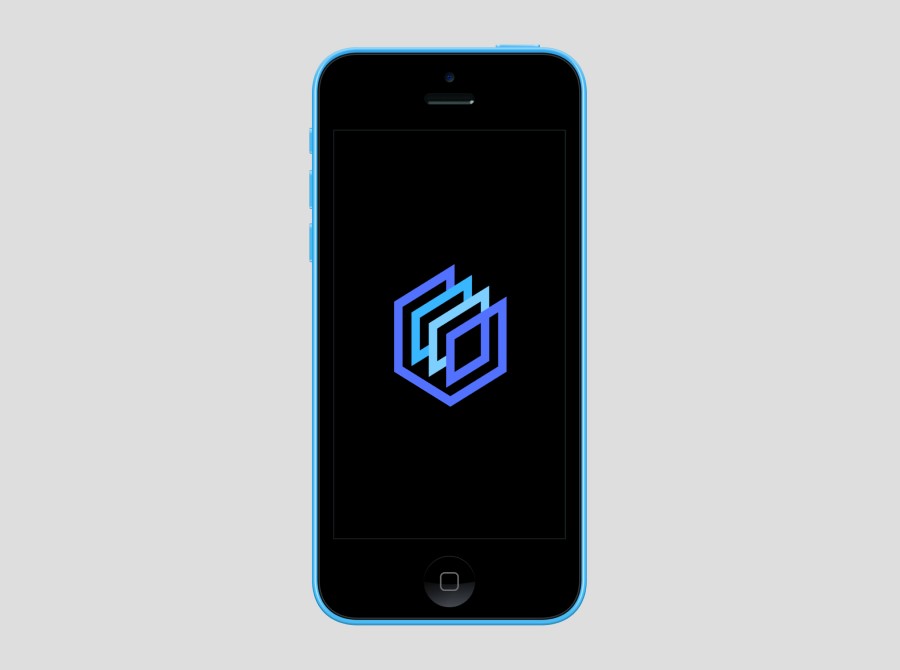
Mockup we made with MockuPhone:
Pricing:
- 100% free
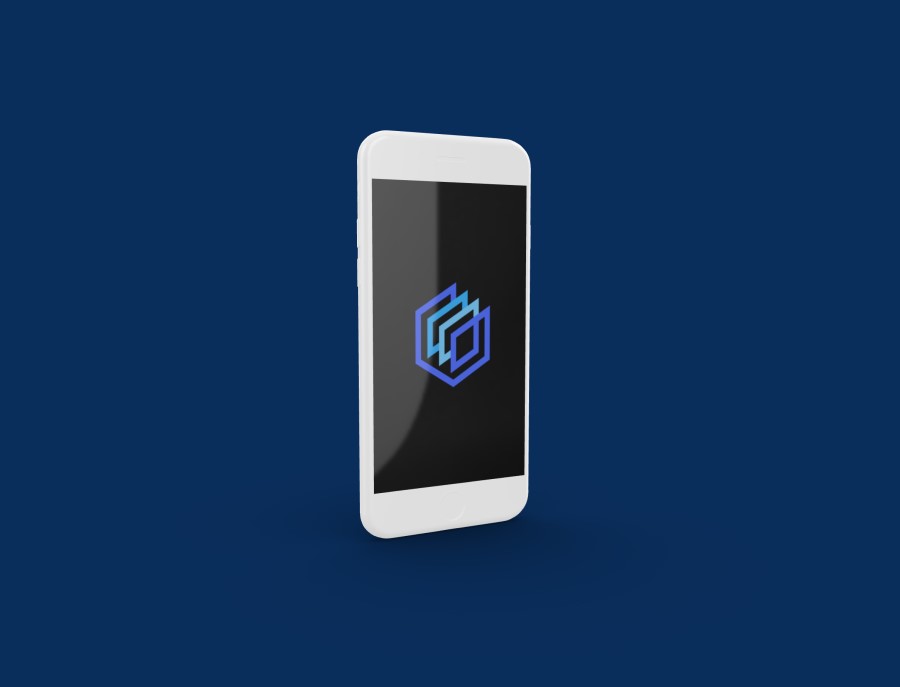
#15 Dimmy.club
Similar to MockuPhone, albeit with a smaller selection of mockup templates, Dimmy.club offers a decent selection of device mockups.
This includes minimalistic templates for laptops, desktops, phones, and tablets.
Dimmy.club is a 100% free mockup generator so you can download as many templates from the site as you want for free.
When it comes to customizing the templates the options are very limited. All you can really do is upload your design and choose the background color. You also will need ensure that your design is the right dimensions for the template you select.
So, if you’re after some simple device mockups, you might find what you’re looking for on Dimmy.club.
Mockup we made with Dimmy.club:
Pricing:
- 100% free
#16 Threed.io
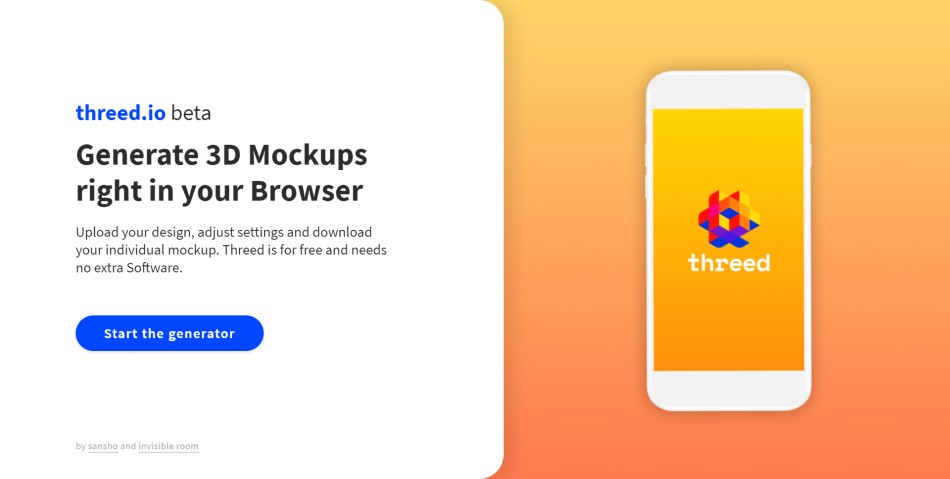
The last 100% free mockup generator on the list is Threed.io. It’s a very slick and easy to use mockup tool and perfect if you’re after a minimalistic phone mockup.
There aren’t any mockup templates on Threed.io as there is only one mockup that you can use. However, it is possible to customize the template by rotating the device, changing the background color, adding or removing the shadow, and also change the glare on the device.
Making these customization is very easy, however like with some of the other tools in this list you’ll have to ensure that whatever design you upload to the mockup generator is the right dimensions for the mockup template.
Mockup we made with Threed.io:
Pricing:
- 100% free
#17 WoFox
Like MockupsJar, WoFox has a lot of potential but at the moment doesn’t match the offering of most of the other premium mockup generators on the market.
With only 36 mockup templates available at the time of writing there isn’t a great selection on offer compared to all the other mockup generators in the list.
There are some good quality templates available though, and their tool makes it relatively easy to customize them to your liking. However, the customization experience isn’t as good as some other tools.
WoFox also offers a whole host of other tools including a logo maker, video maker, collage maker, and much more. However, it’s a bit of a poor man’s Placeit at the present time.
Mockup we made with WoFox

Pricing:
- Free plan
- Business plan: $10 per month
- Team plan: $30 per month
- Virtual assistant plan: $208 per month
Wrapping things up…
So there you have 17 tried and tested mockup generators, some free and some premium.
Creating great images to display your designs in the best way possible can be challenging at times. However, with the quality of online mockup generators constantly improving this is becoming much easier.
We hope this guide was helpful to you!
Oh, and if you have any questions, comments, or have suggestions for other awesome mockup generators, leave a comment below!
