If you’re looking to create engaging images for a blog article or trying to make your online web or graphic design portfolio look more professional you might want to display your images and designs on a virtual screen such as a desktop computer, laptop screen, tablet, or even a smartphone screen.
But how can you do this in the quickest way possible without having to take your own photos?
The good news is that there are several easy ways to put your images on a virtual screen, and we’re going to cover two of these best ways in this article.
Virtual Screen Option 1: Use Placeit
By far the easiest way to do this is to use a mockup generator such as Placeit. If you’re not aware of Placeit, it’s an online design tool that lets you create a whole range of designs including logos, social media posts, videos, and much more.
Their most popular feature is their mockup generator which has a large library of device and virtual screen mockups that you can utilize. So if you want to see your image or design on a tablet with an interesting background, or view your website design on a smartphone screen you can easily do all that and more with Placeit.
If you’re looking for basic images of devices including laptops, desktop computers, smartphones, tablets, and more, you can find all these on Placeit as well.
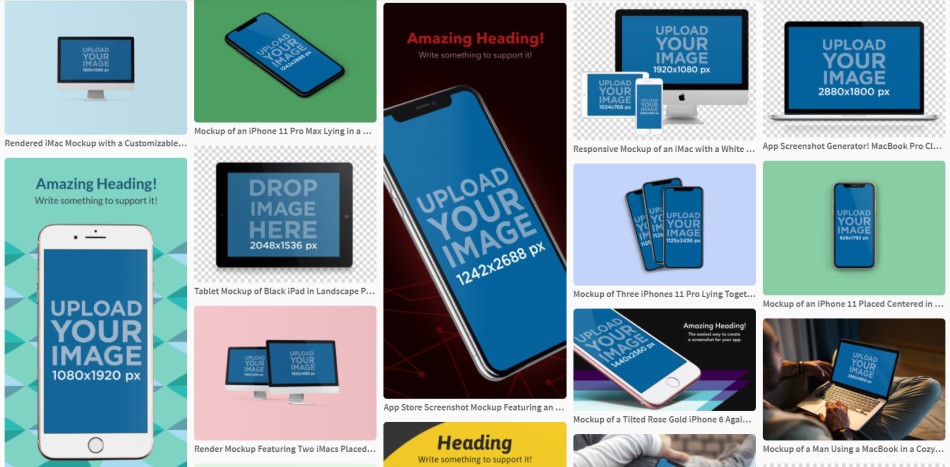
Step 1: Choose a digital screen template
Go to Placeit and find a device or virtual screen template that you like. There are plenty to choose from on Placeit including 700+ laptop screen templates, 1000+ smartphone screen templates, around 100+ desktop screen templates, 250+ tablet screen templates, and much more!
Step 2: Customize the template
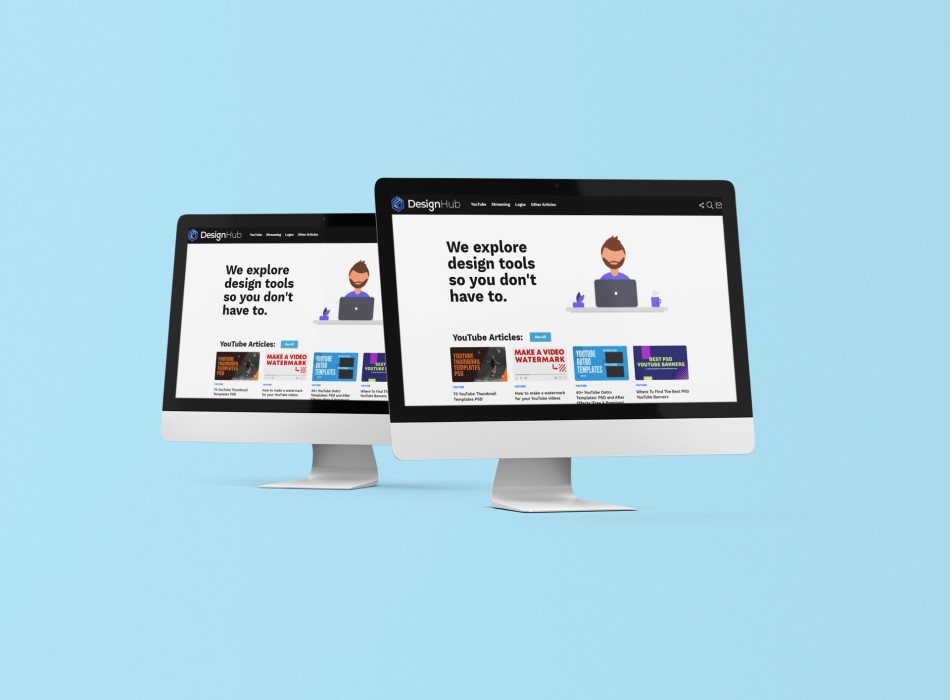
When you’ve selected a template you’ll be redirected to the editor. All you have to do here is add your image or design to the device screen (you can upload it from your device, add it via a URL or import it from your existing designs on Placeit).
You can also change the background color on some templates and add a text and logo overlay too. As you can see below, Placeit automatically matches your image to the screen. It couldn’t be easier!
Step 3: Download the template
And that’s it! You can now download your device screen image and use it how you wish. If you chose one of the free templates on Placeit you’ll be able to download your image for free.
However if it’s a premium templates it will cost you $7.95 for one templates, or you can download an unlimited amount if you get a subscription (Monthly: $14.95 or Yearly: $89.69):

Virtual Screen Option 2: Photoshop
The second option is to use Photoshop. This requires a bit more effort than using Placeit, and also requires you to have some basic knowledge of Photoshop, however, it gives you a lot more control and flexibility over your design and the elements that are part of it.
Video tutorial
For a fuller run-through of all the steps to take when using Photoshop check out the video below from Dansky:
Step 1: Get your device screen image
To get the images of your chosen device screen you have a few options. You can simply search in google for your chosen device (e.g. iPhone) and use one of the images from Google’s image search results.
The problem with this method is copyright, as you’ll need to check to be sure you can freely use an image.
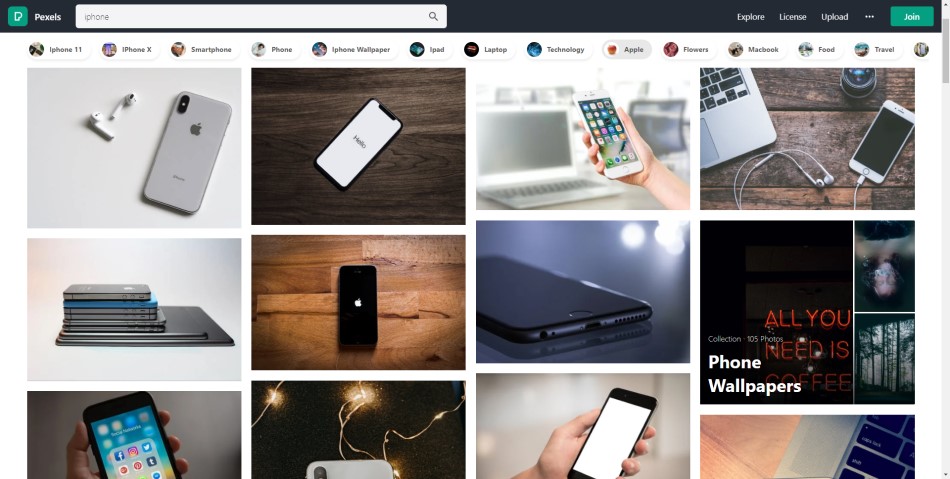
Alternatively, you can get the image of your preferred device screen from a stock image website, there are free sources such as Pexels and Unsplash or premium sources such as Adobe Stock or Envato Elements.
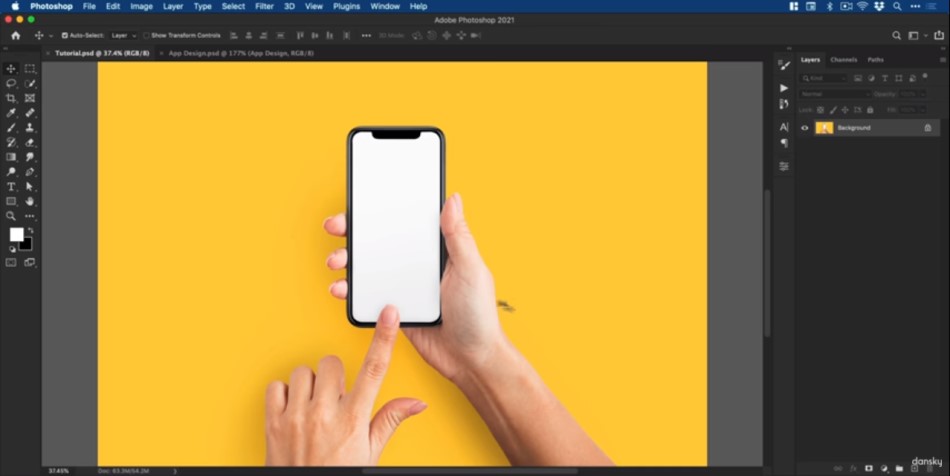
Step 2: Open up Photoshop
When you’ve got your chosen device image, open that up in Photoshop.
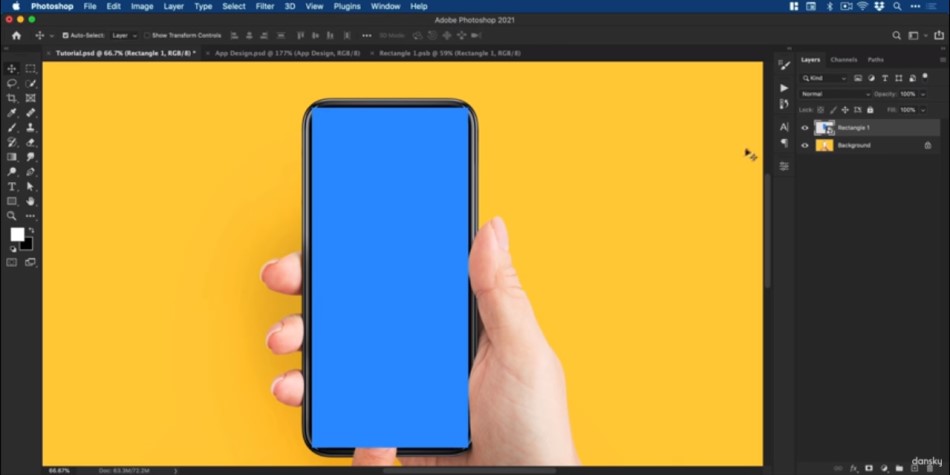
Step 3: Add a rectangle shape
Add a rectangle shape to the canvas in the dimensions of the design or image that you want to add to the device screen:

Step 4: Convert the rectangle to a smart object:
Move the rectangle to the middle of the device screen, and then convert it into a smart object. You can double click into the smart object and change the dimensions to make it large enough for your image or design (hopefully a high res version):

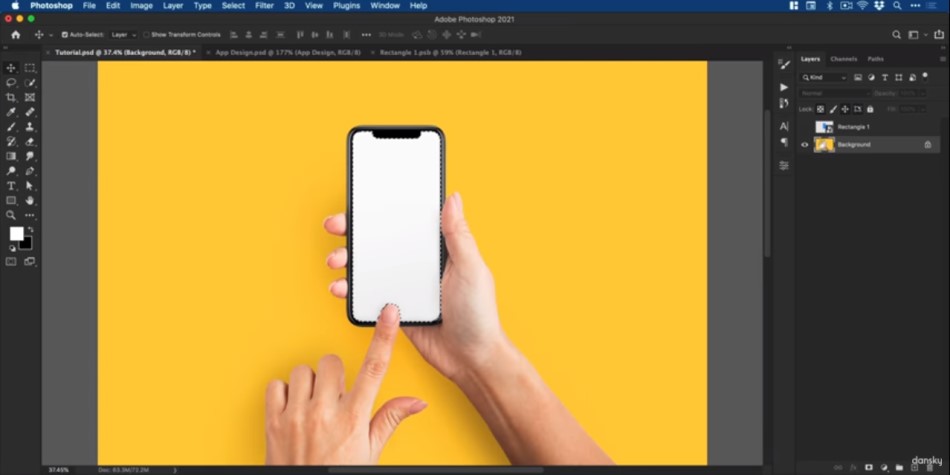
Step 5: Cover the device screen with the rectangle:
Save the smart object file and return the main document. Resize and reposition the rectangle to cover the device screen, then hide the smart object layer:
Step 6: Select the screen area:
Use the Photoshop selection tools to select the device screen, and with that selection turn the smart object back on so it fills the selection space:
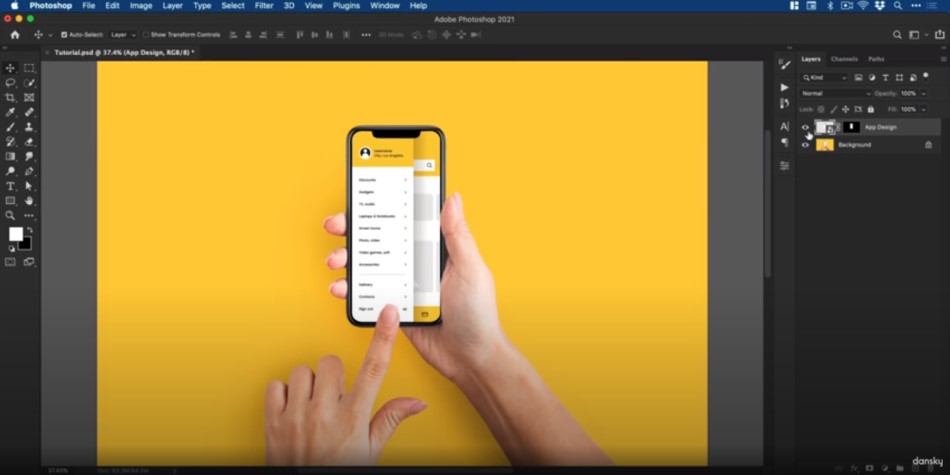
Step 7: Add your image or design to the file:
Go back into the smart object and add the image or design you want to display in the virtual device screen into the file. Next, resize it to the canvas and then save and close and you’ll see that your image or design is now displayed on the device screen.
You can now export your final image:
Final thoughts
So there you have it, that’s how you can display your images and designs on a virtual screen such as a desktop computer, laptop screen, tablet, or smartphone screen.
By far the easiest option is to use a tool like Placeit which makes the process so much quicker. But if you have some experience with Photoshop and want more control over your designs you might want to go down that route.
We hope this guide helped you!

